How to Design and Animate End Credits in After Effects
Introduction – Crafting Impressive End Credits
Creating end credits in After Effects might seem daunting at first, but with the right approach, it’s quite manageable. This guide will walk you through crafting professional-looking end credits that enhance the overall quality of your video projects. Well-designed end credits not only provide important information but also leave a lasting impression on your audience, adding a polished finish to your work.
Get 10% off when you subscribe to our newsletter

Step 1: Prepare Your Project
Create a new composition in After Effects with the appropriate dimensions and duration for your end credits. This sets the stage for all your subsequent work and ensures everything fits well within the frame.


Step 2: Create a Solid Background
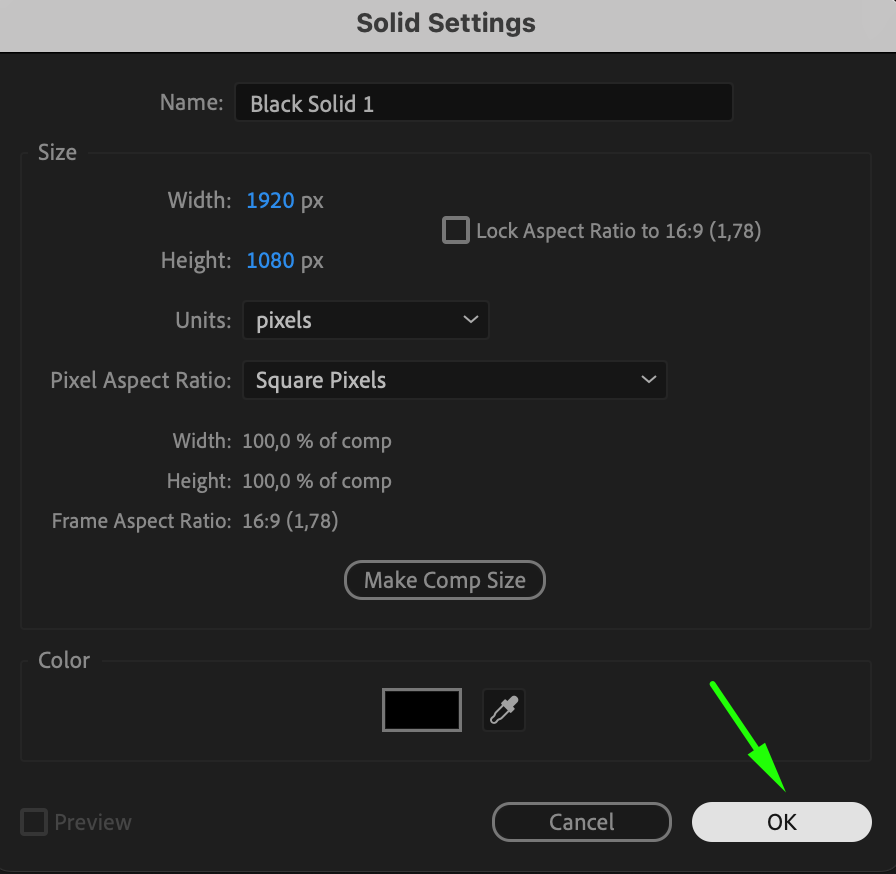
Go to Layer > New > Solid to create a new solid layer. Choose a background color that complements your video and sets the right tone for your credits. This will serve as the base layer for your end credits.

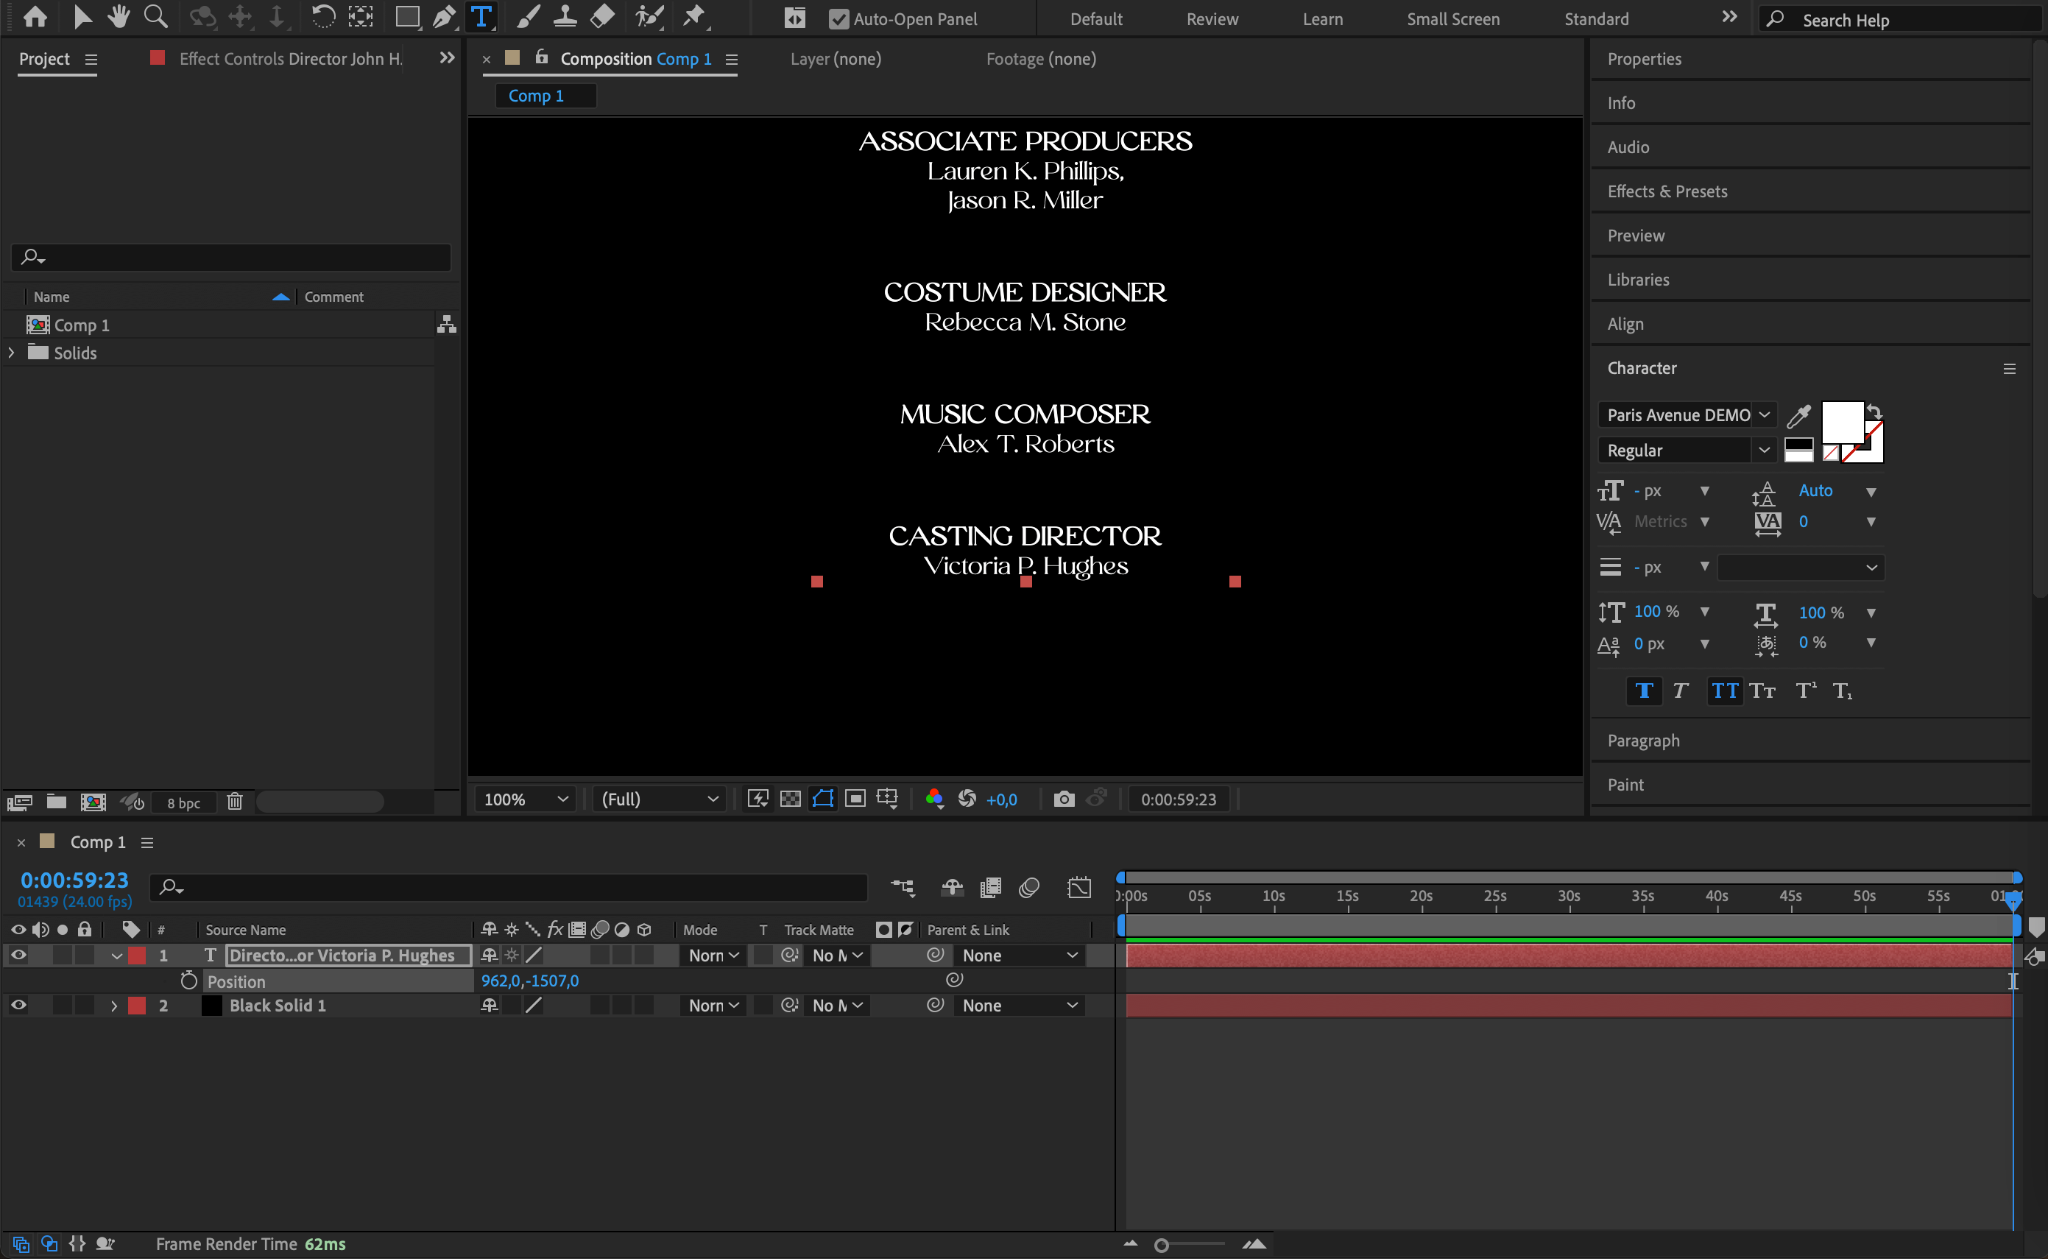
Step 3: Add Text for Roles
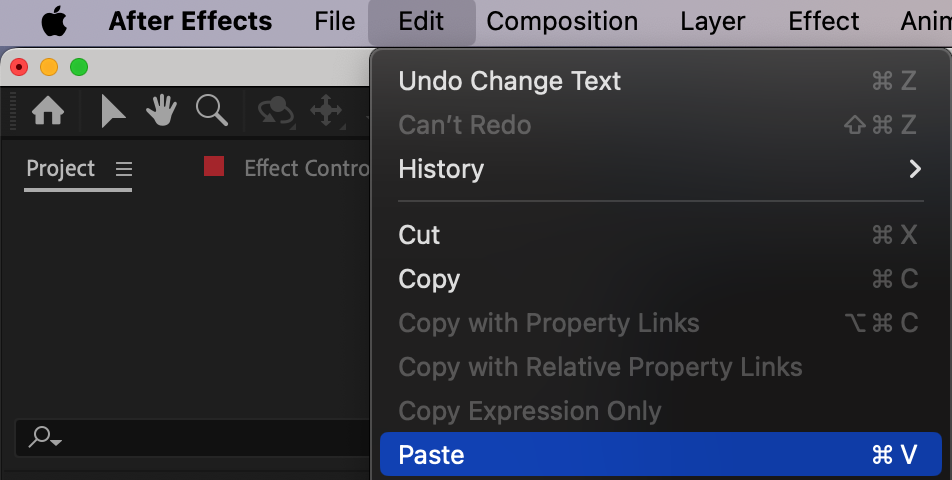
Select the Type Tool (Ctrl/Cmd + T) and click on the center of your composition to start typing. Enter the roles or professions (e.g., Director, Producer) that you want to include in your credits. Use Ctrl/Cmd + V to paste text if you have pre-written content.

Step 4: Customize Text Appearance
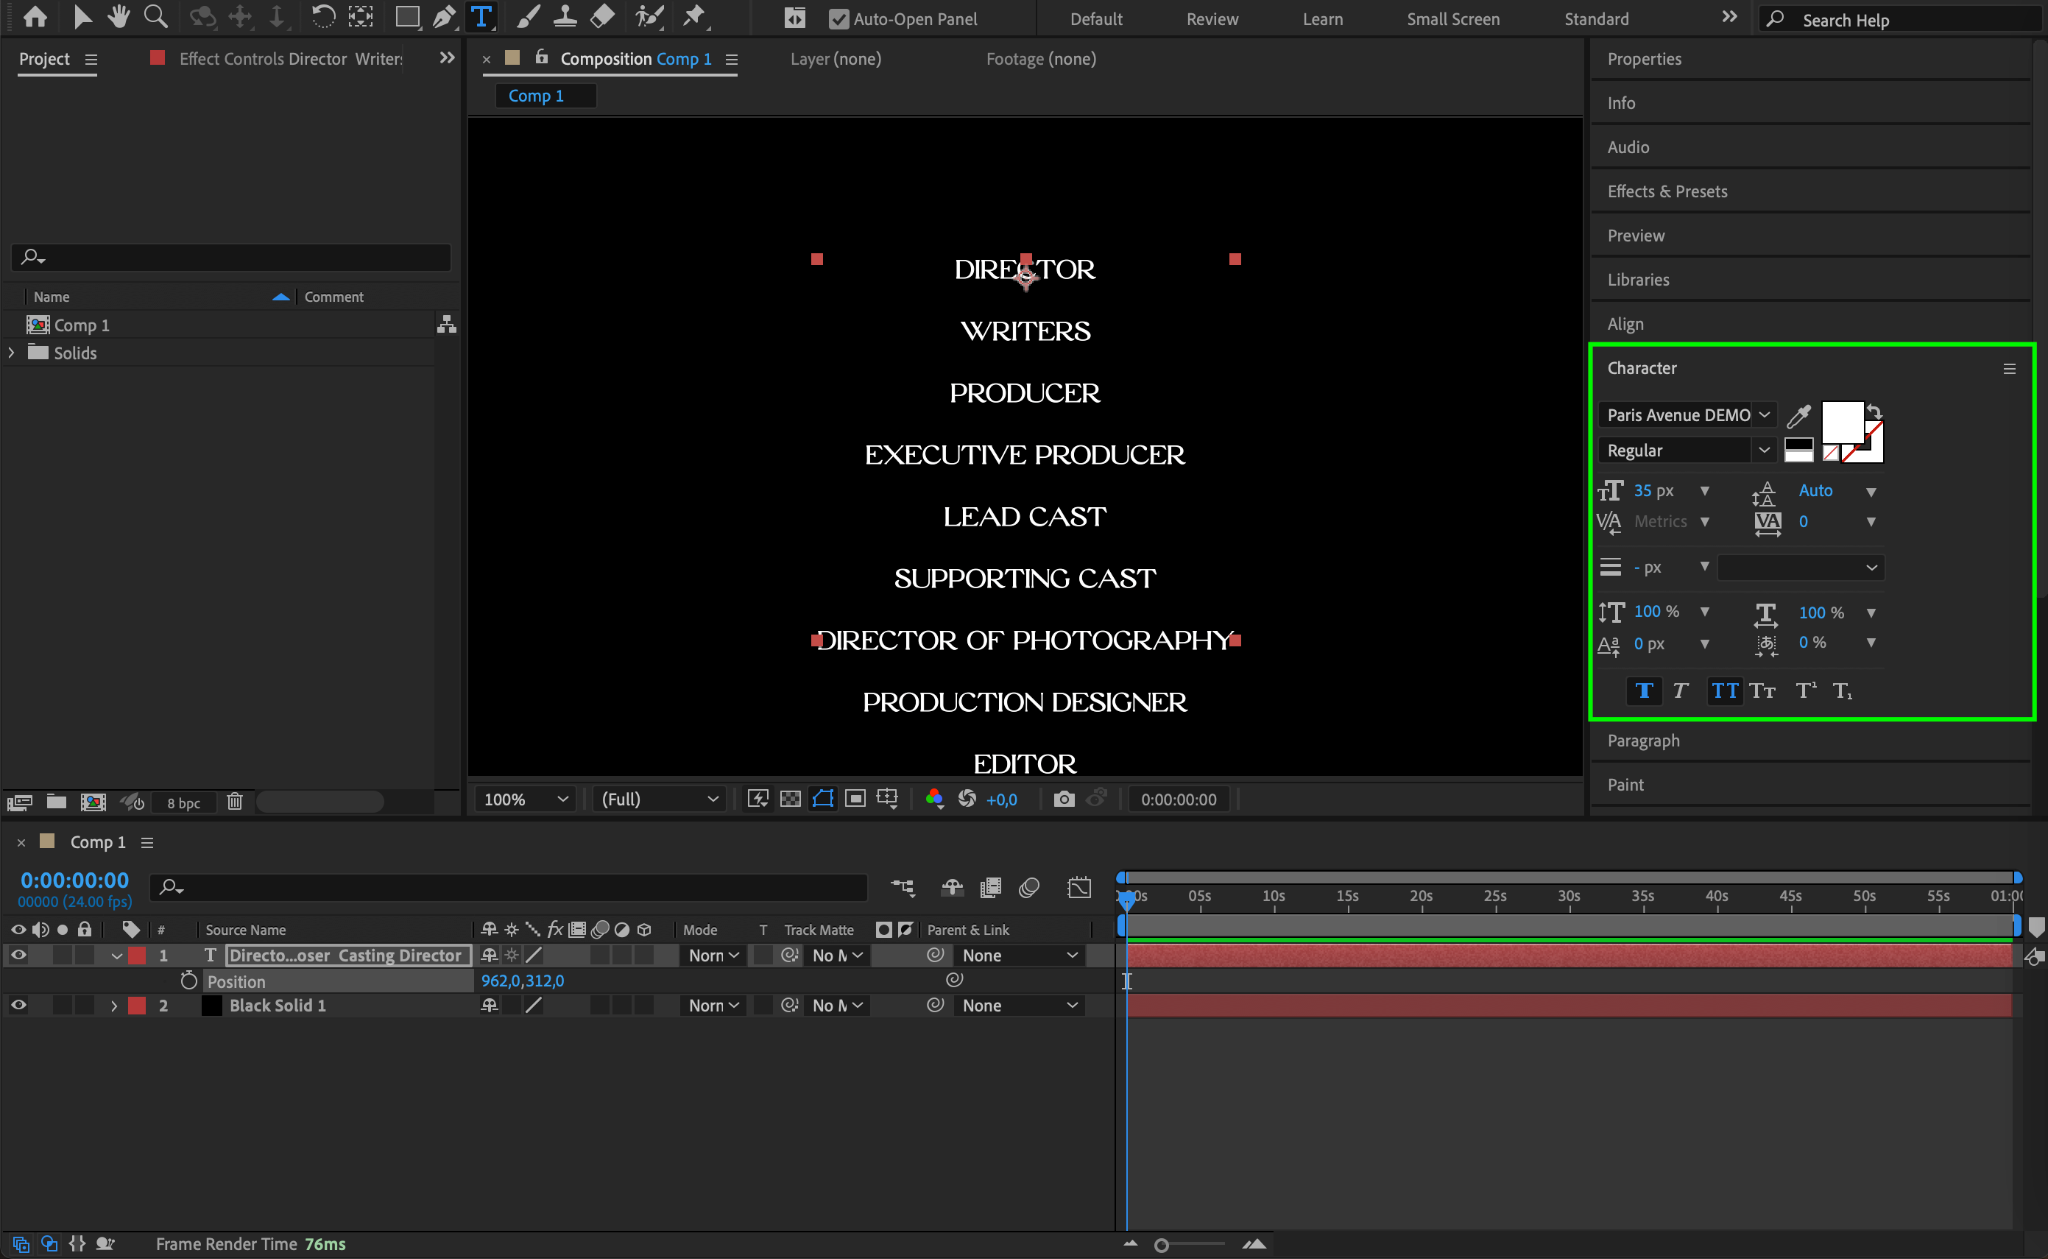
Use the Character panel to adjust the font, size, and style of your text to match the look you want for your credits. The Align panel will help you center the text and position it correctly within the composition.
Step 5: Add Names and Adjust Styling
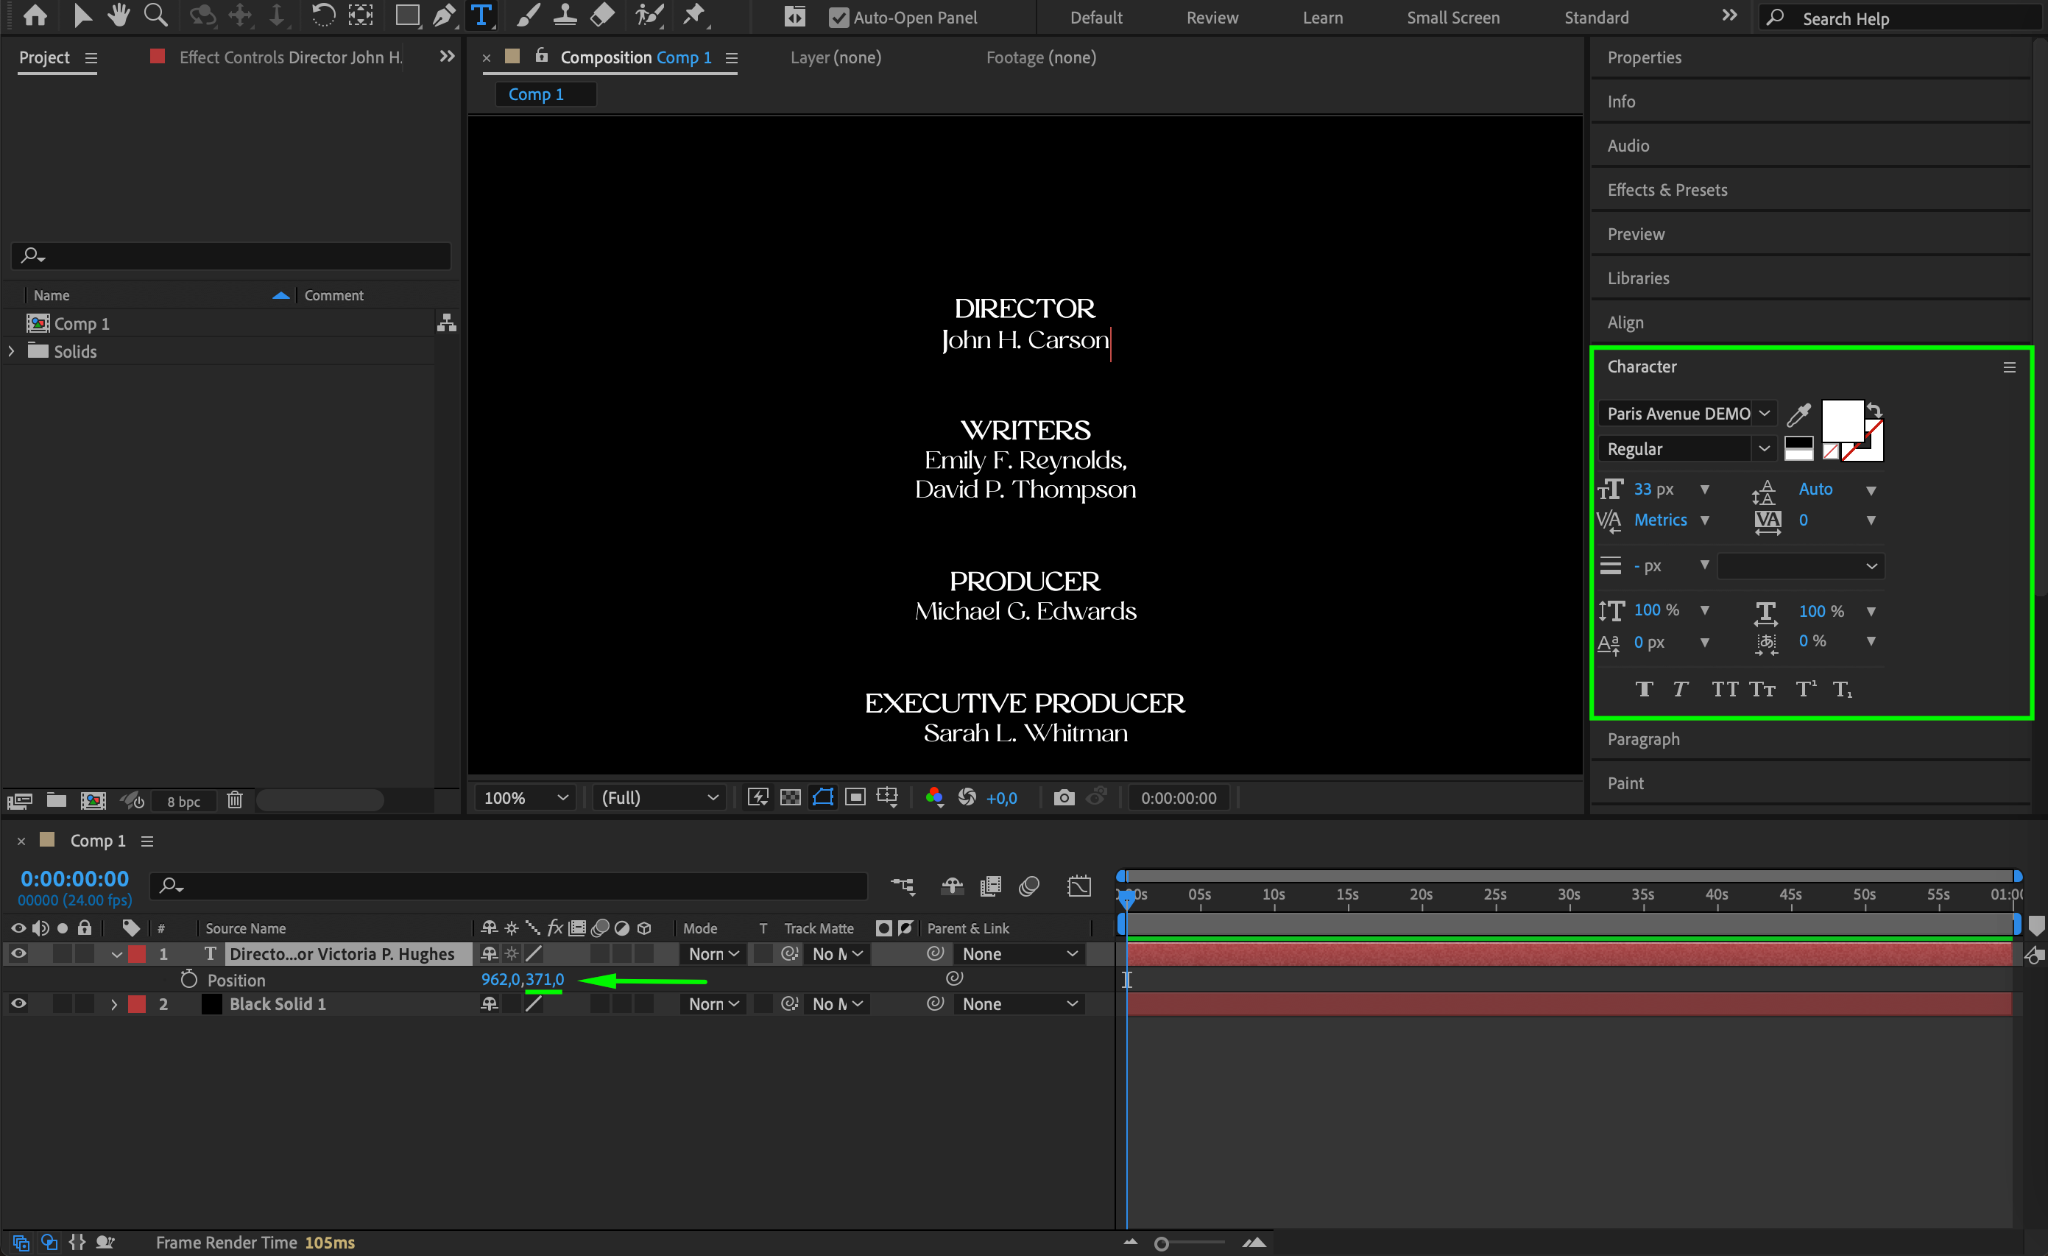
Under each role, add the names of the individuals (e.g., Directors – Full Name). Adjust the font size and style so that names are easily distinguishable from roles. Use the Position parameter to ensure that the text layer is well-aligned and readable.
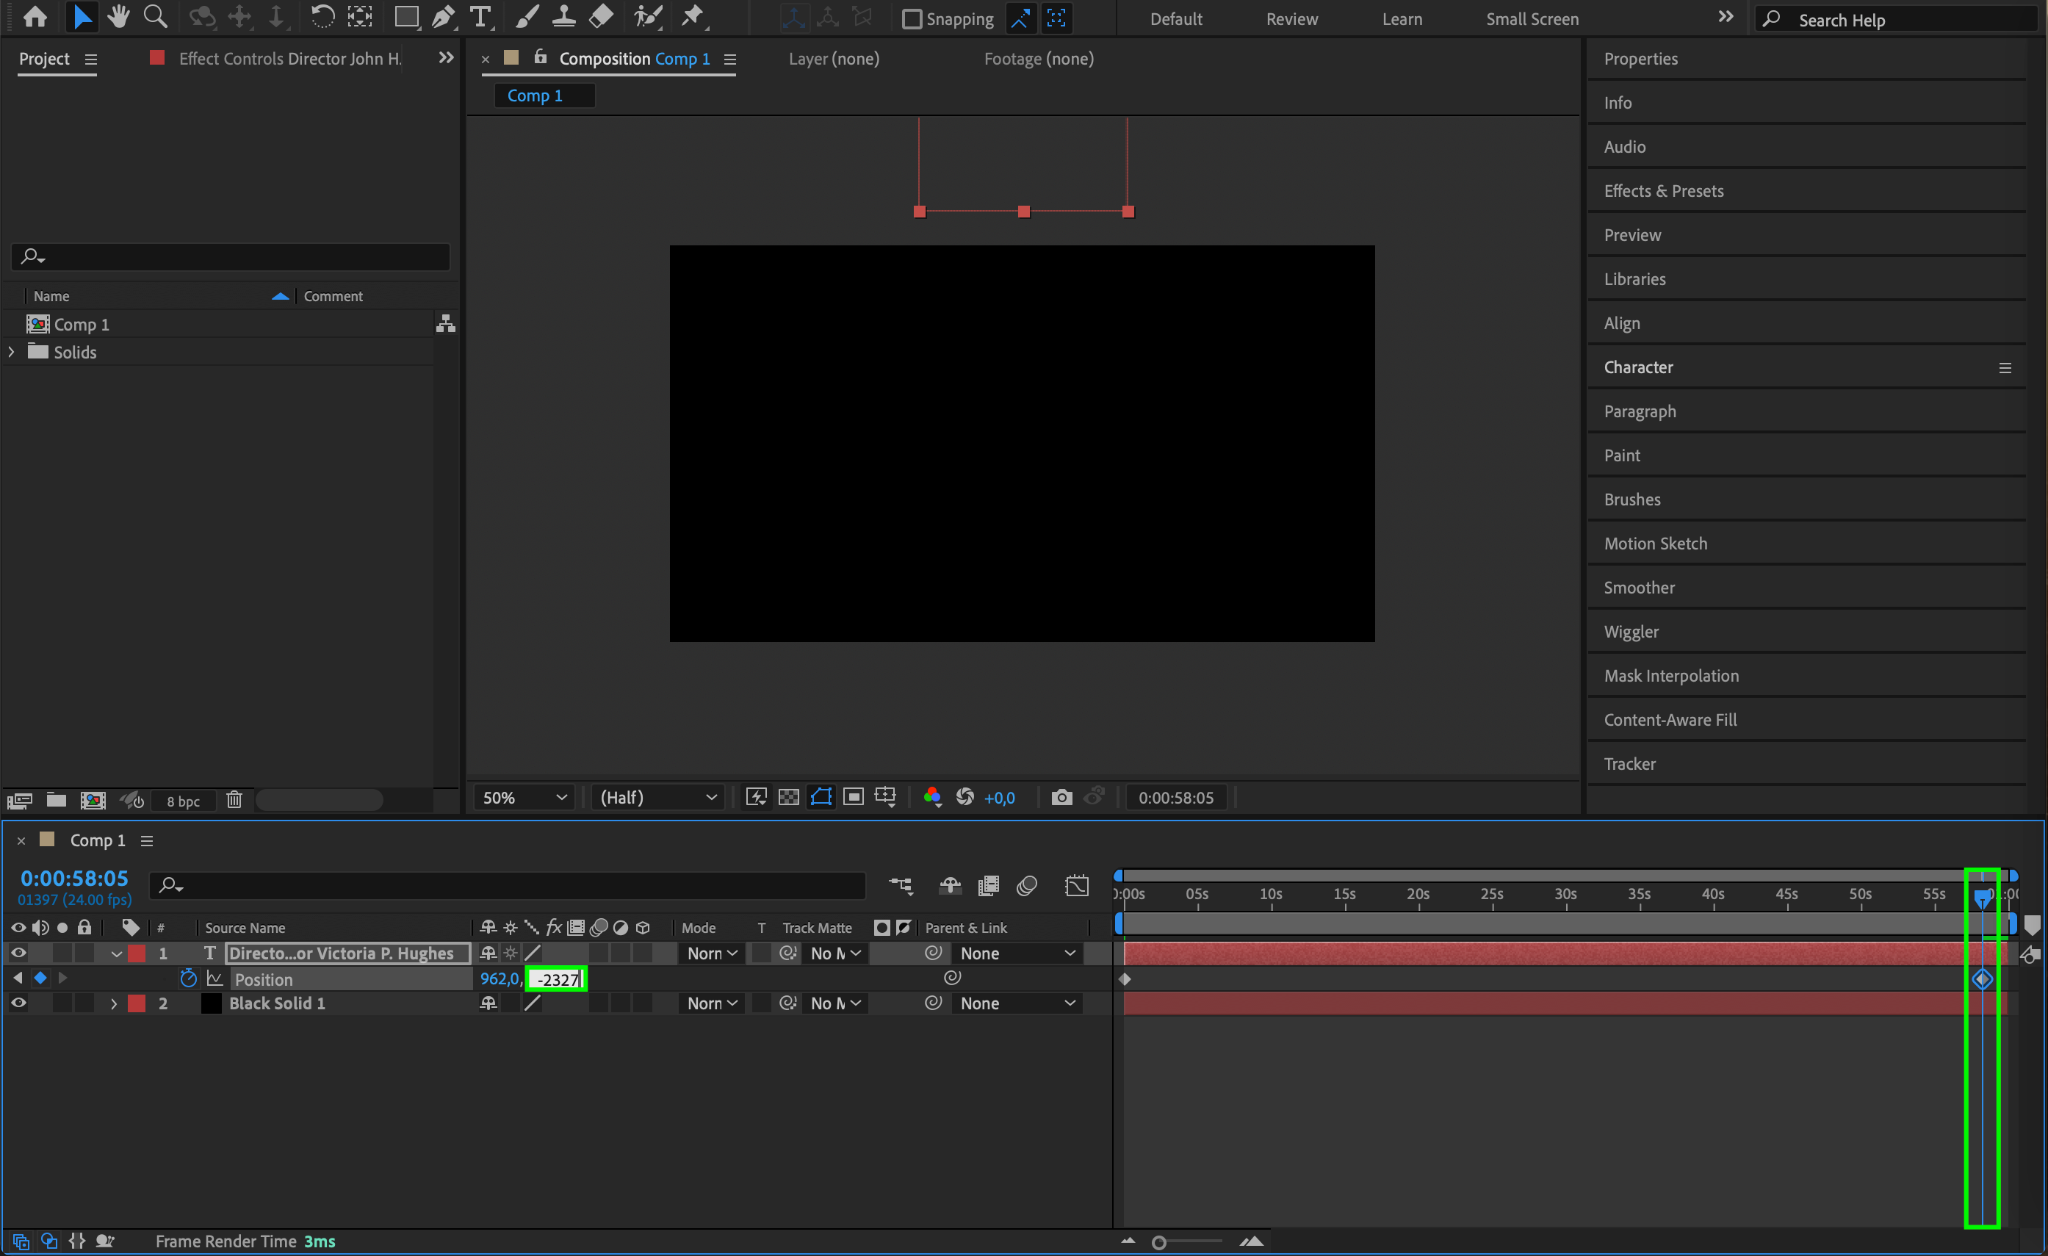
Step 6: Animate Text Movement
Animate the position of your text layer by moving the CTI (Current Time Indicator) to the beginning of the composition and creating a keyframe for the position parameter. Set the starting position so that the text is initially at the bottom of the screen. Move the CTI to the end of the composition and adjust the position so that the text moves to the top, creating a scrolling effect.

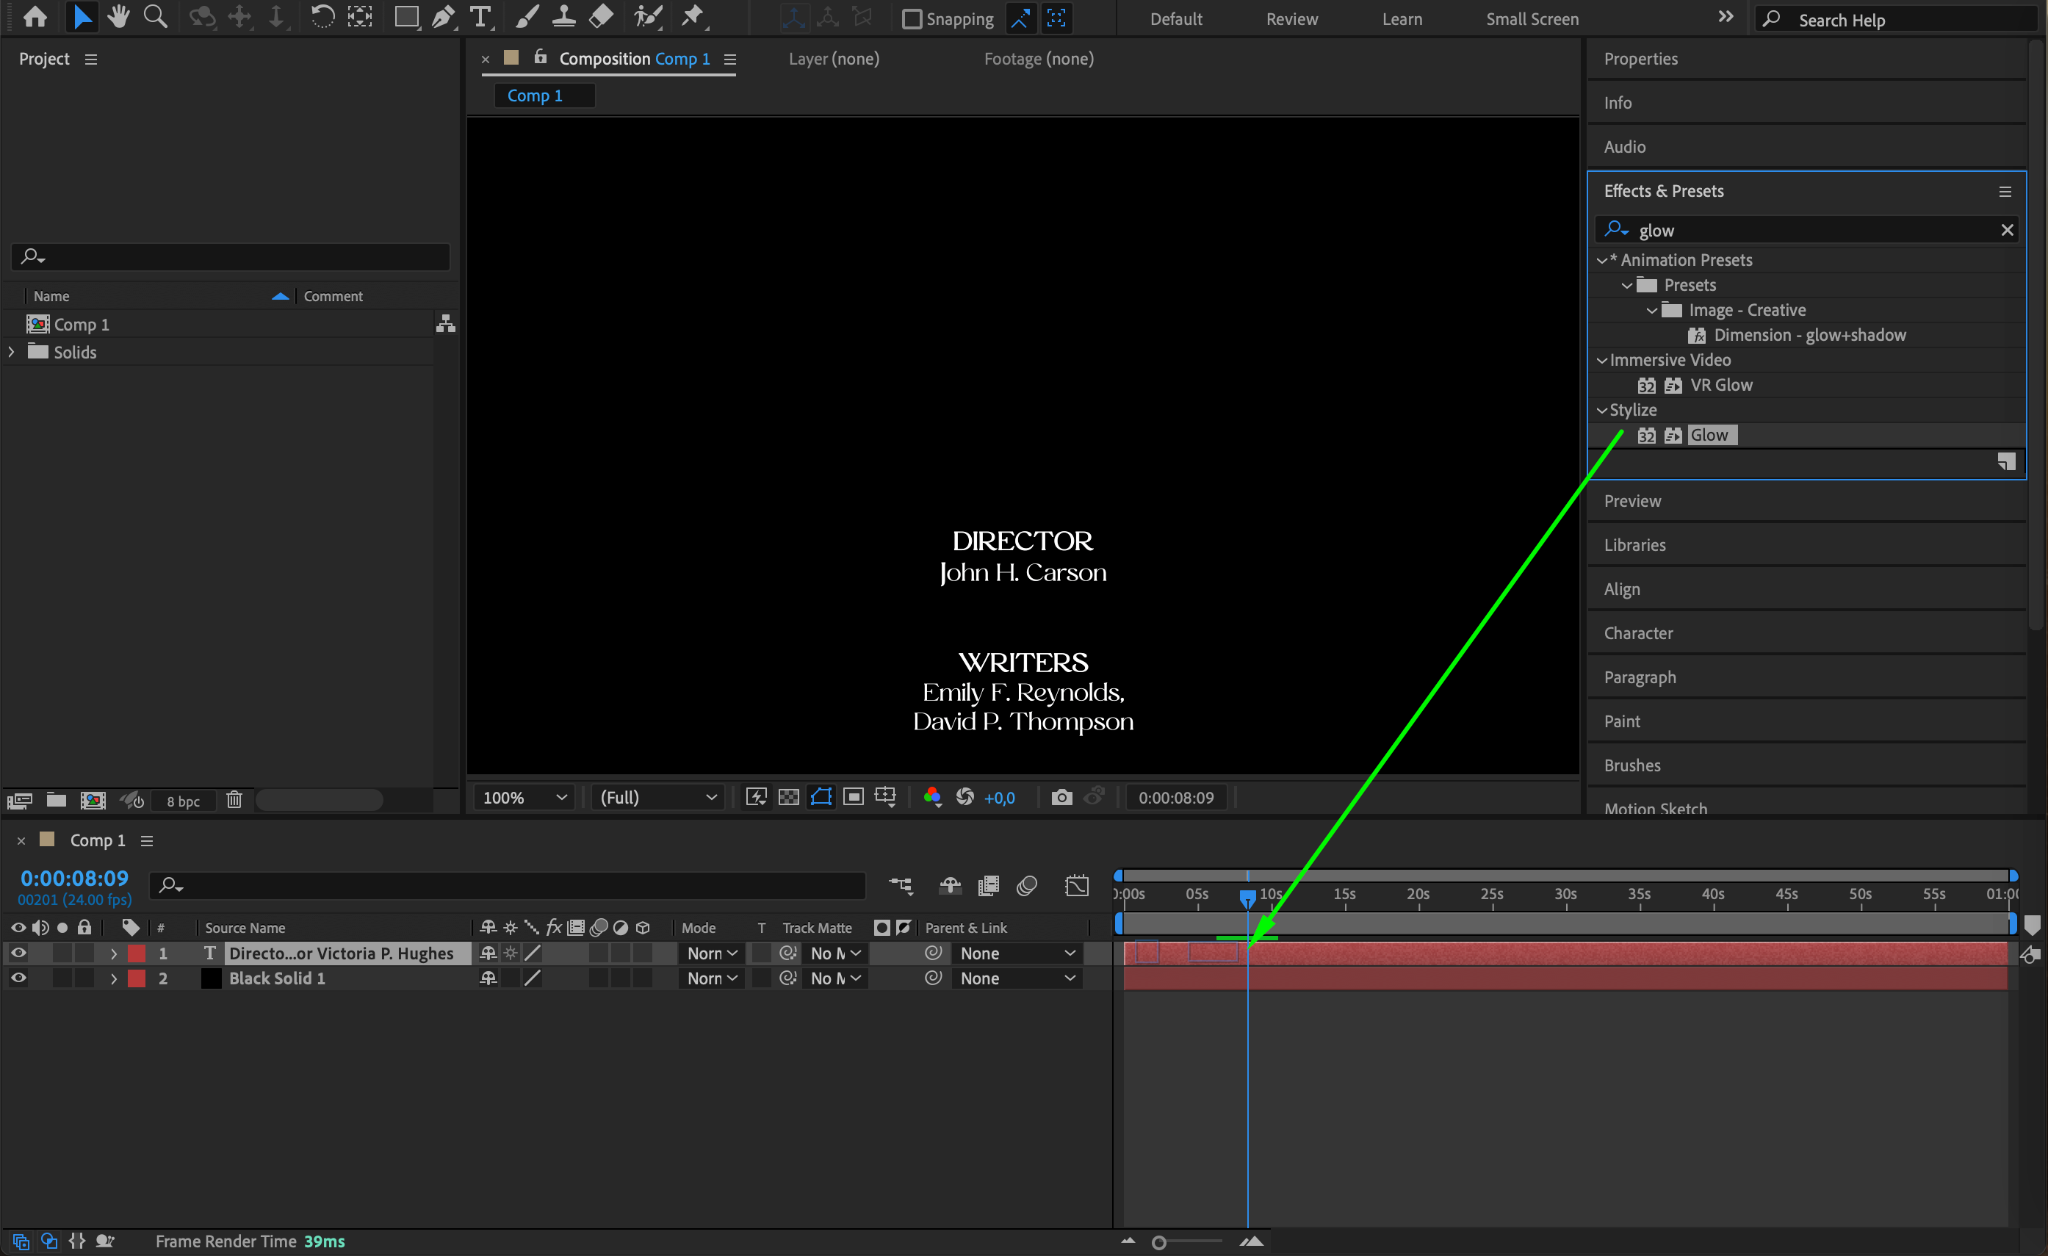
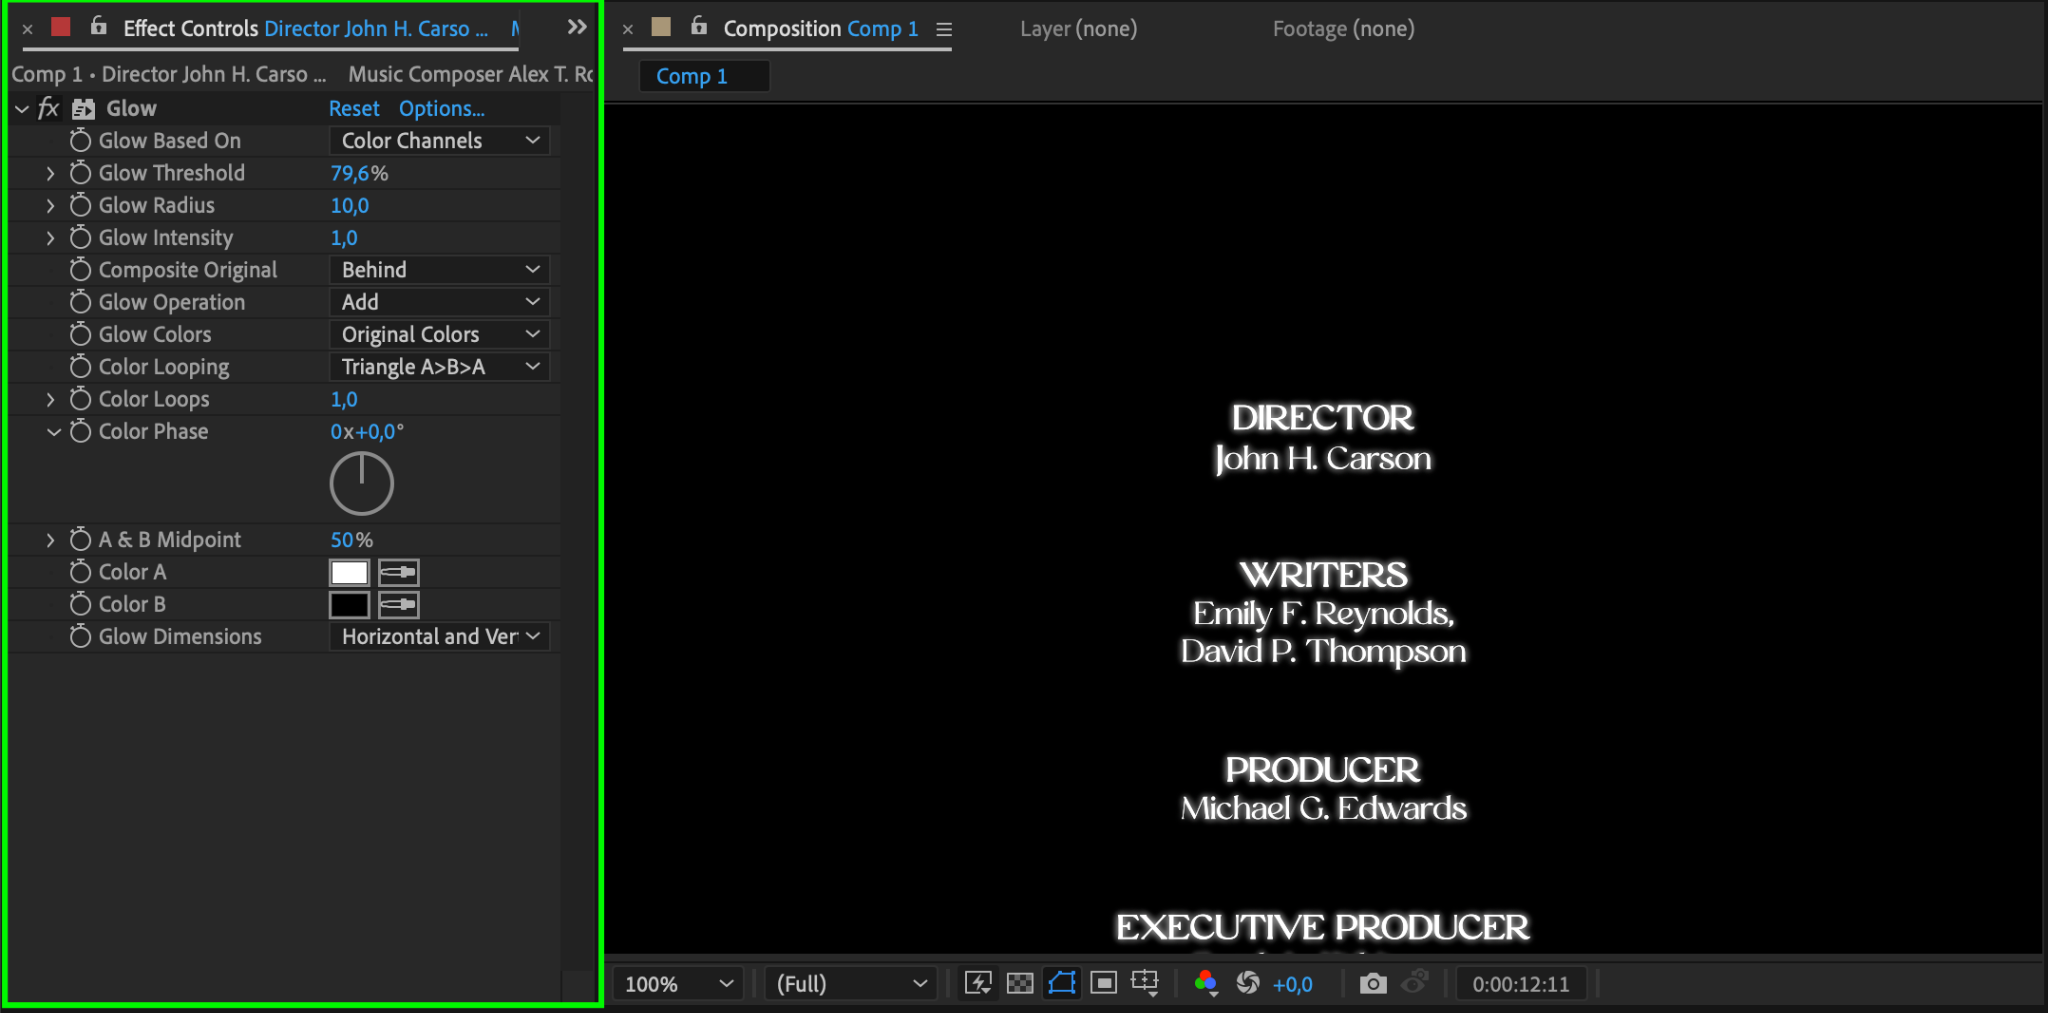
Step 7: Apply Effects for Enhanced Appearance
You can enhance the look of your text by applying various effects from the Effects & Presets panel. Experiment with different effects to make your end credits stand out and match the style of your video.
Step 8: Preview Your Credits
Use the Preview feature to watch your end credits in action. Make any necessary adjustments to timing, text appearance, or effects to ensure everything looks polished and professional.

Conclusion
By following these steps, you can create engaging and visually appealing end credits in After Effects. Experiment with various techniques, effects, and styles to tailor your credits to your video’s unique style. With practice, you’ll become adept at producing impressive end credits that enhance your video production. So, dive in and start crafting your end credits today!
Our Bestsellers
Our Bestsellers


