Introduction
Skewing shapes in After Effects is a simple way to create perspective, dynamic motion, or stylized graphic designs. Instead of using external plugins, you can skew shape layers directly using the built-in Shape Transform controls. This tutorial walks you through the process step by step.
Step 1: Open Your Project
Open your existing After Effects project or create a new one where you want to add and modify a shape.
Step 2: Create a Shape Layer
From the toolbar, select the Shape Tool (Q) and choose the shape you need. Before drawing the shape:
Set the Fill and Stroke colors as desired
Click and drag in the Composition panel to create the shape.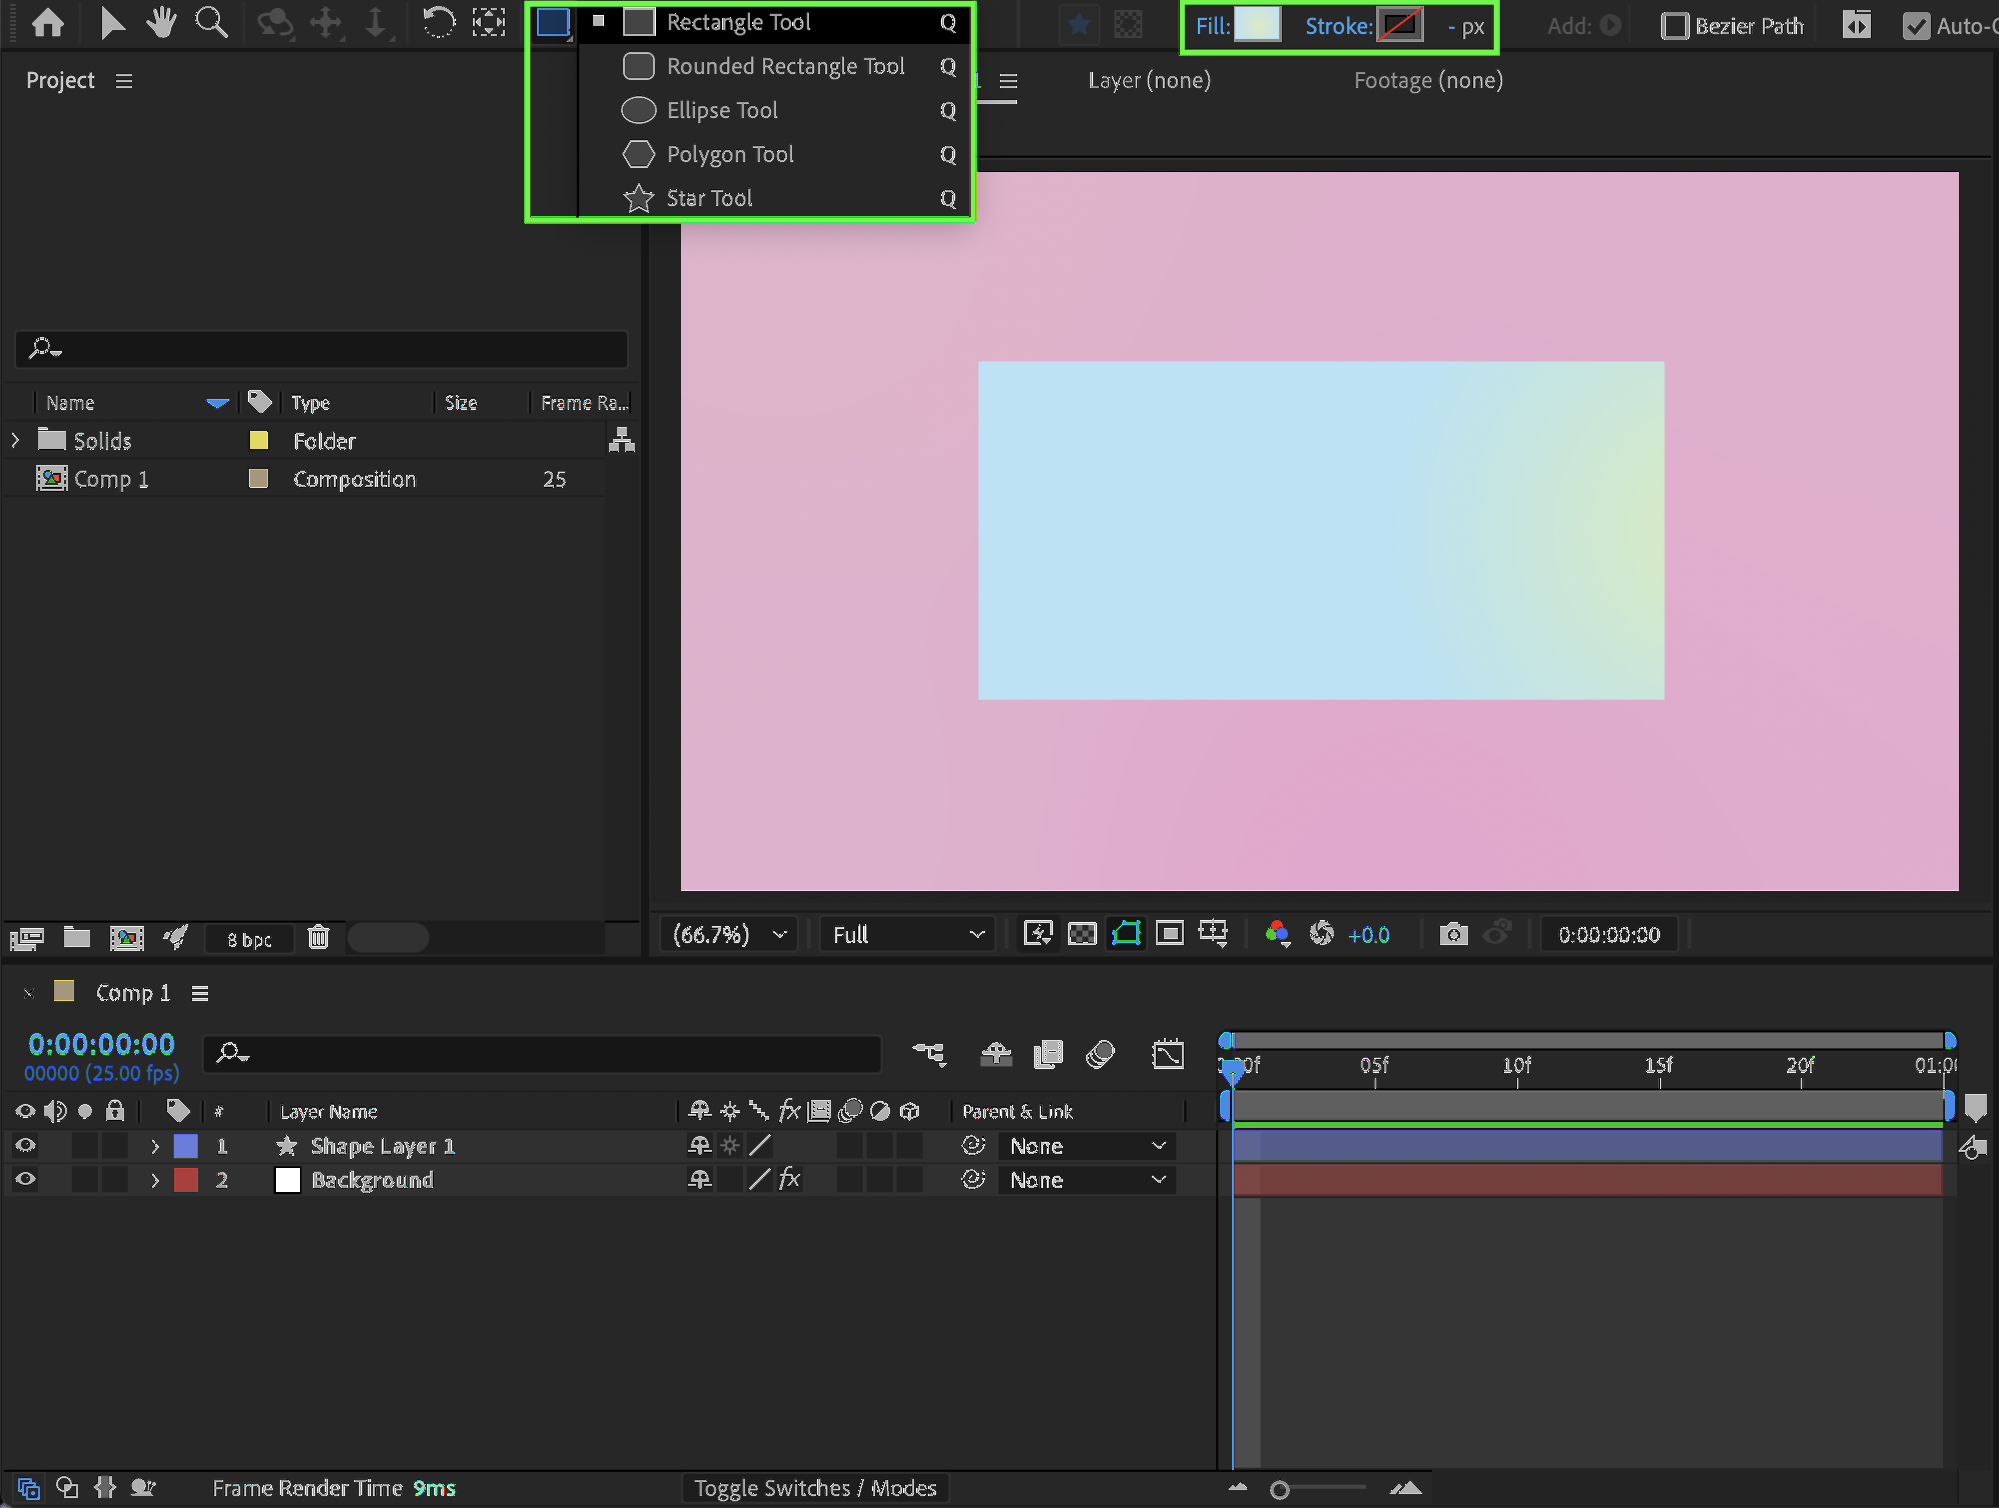
Get 10% off when you subscribe to our newsletter

Step 3: Skew the Shape
Select the shape layer and expand its properties in the Timeline panel. Navigate to:
Contents → Shape 1 → Transform: Shape 1. Adjust the following parameters:
Skew — controls the amount of distortion
Skew Axis — changes the direction of the skew
Rotation — rotate the shape if needed
These controls affect only the selected shape, not the entire layer.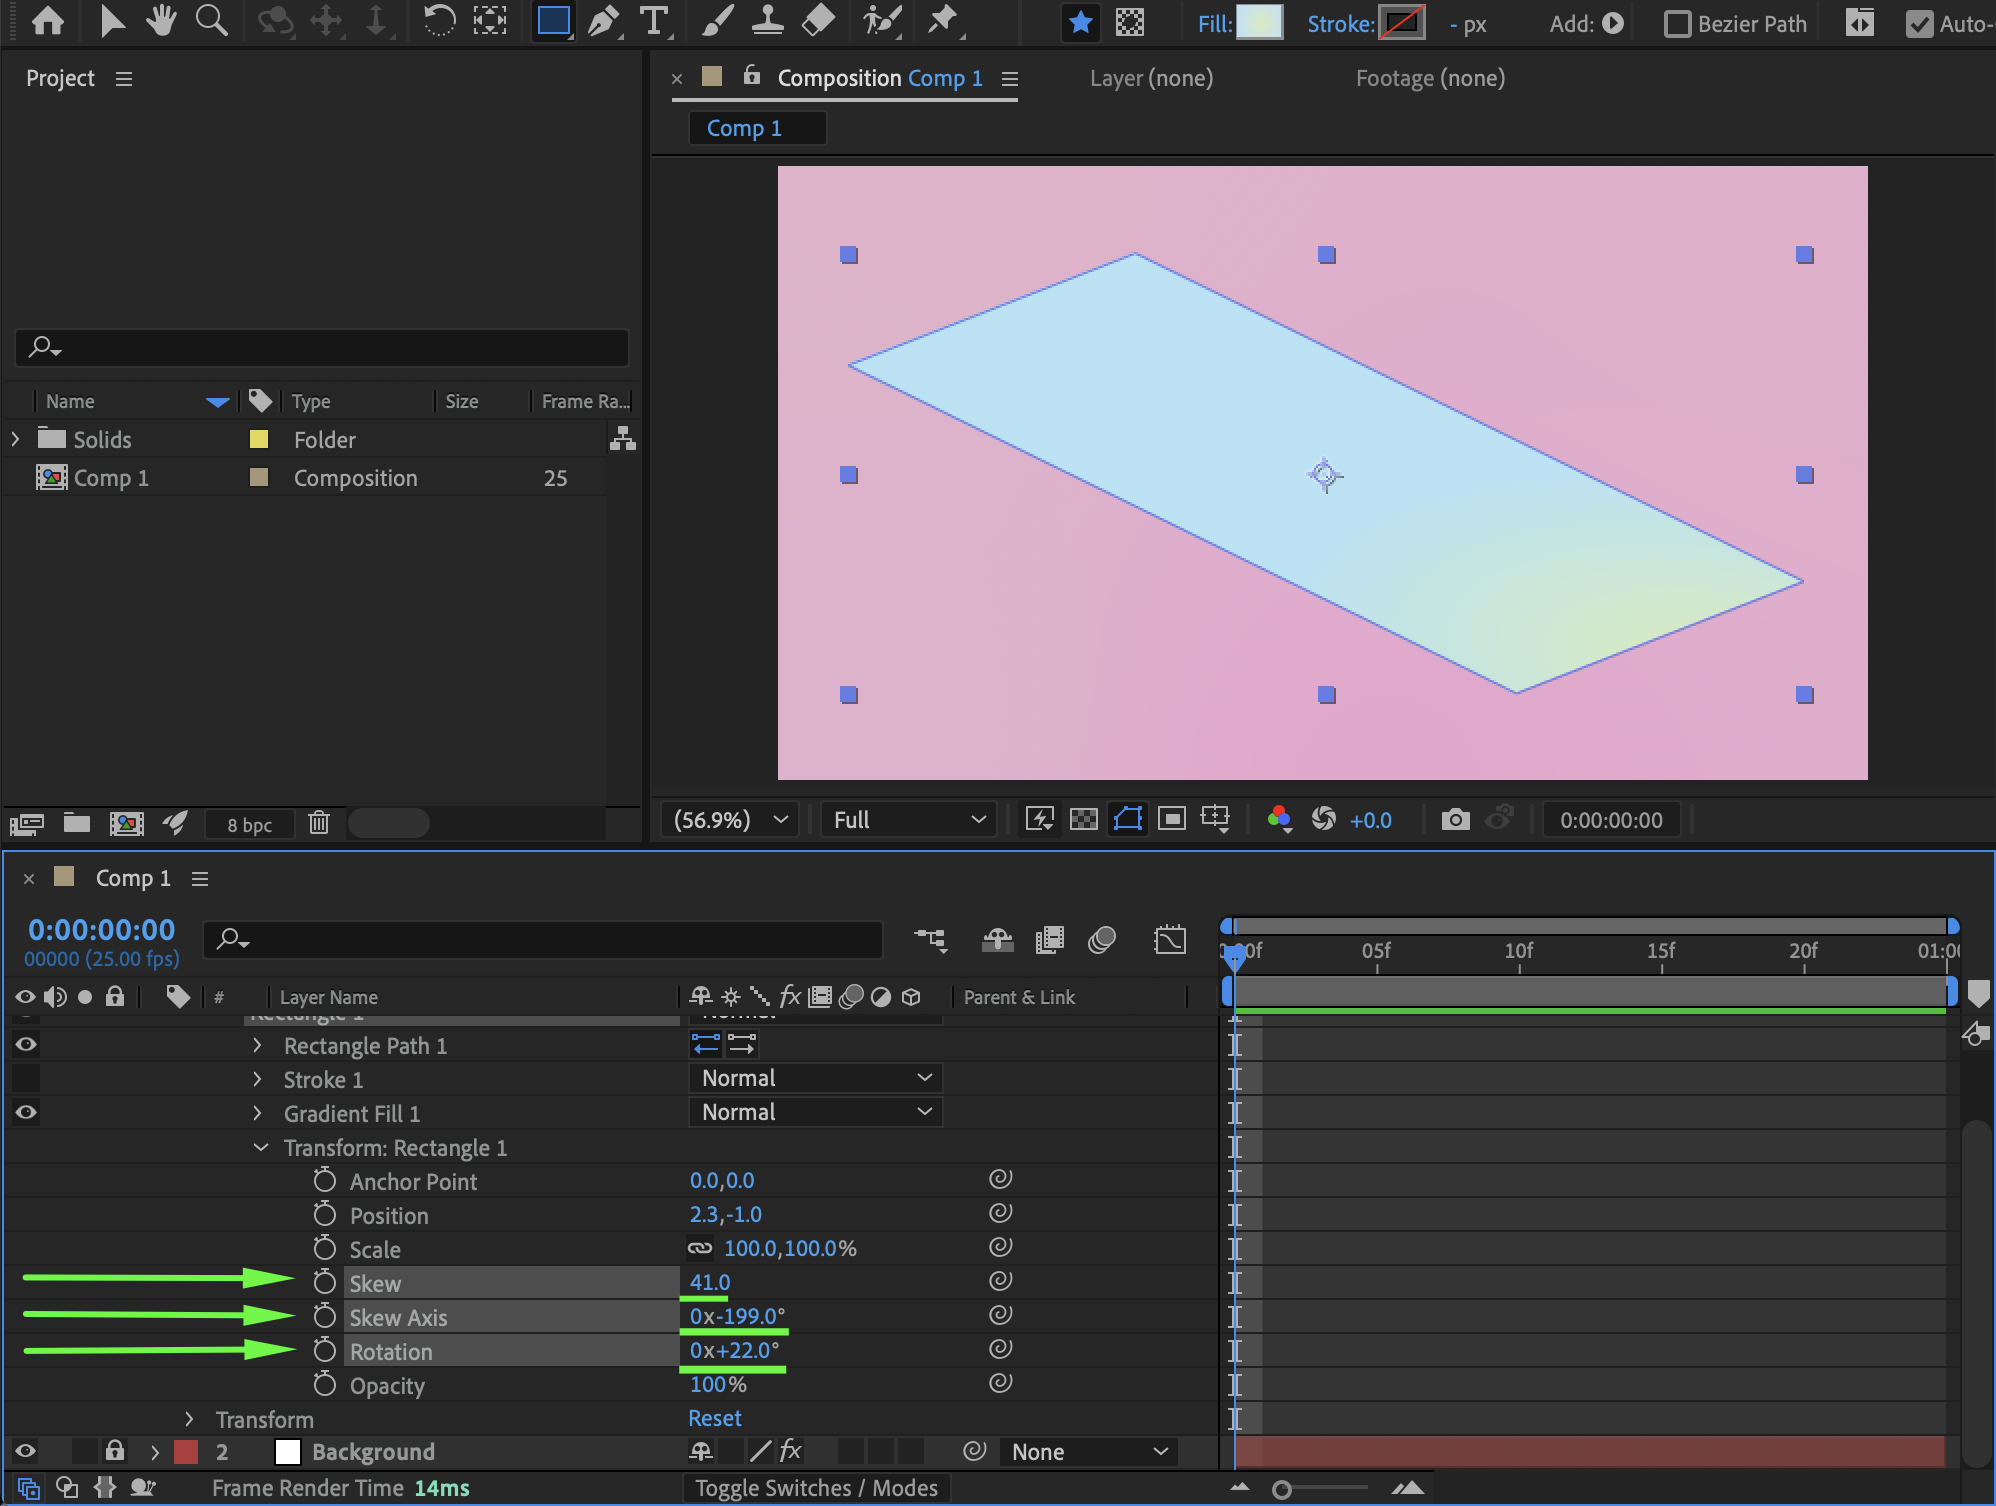
Step 4: Add Effects for Depth (Optional)
To give the shape more visual depth, add effects from the Effects & Presets panel, such as:
Drop Shadow
CC Glass
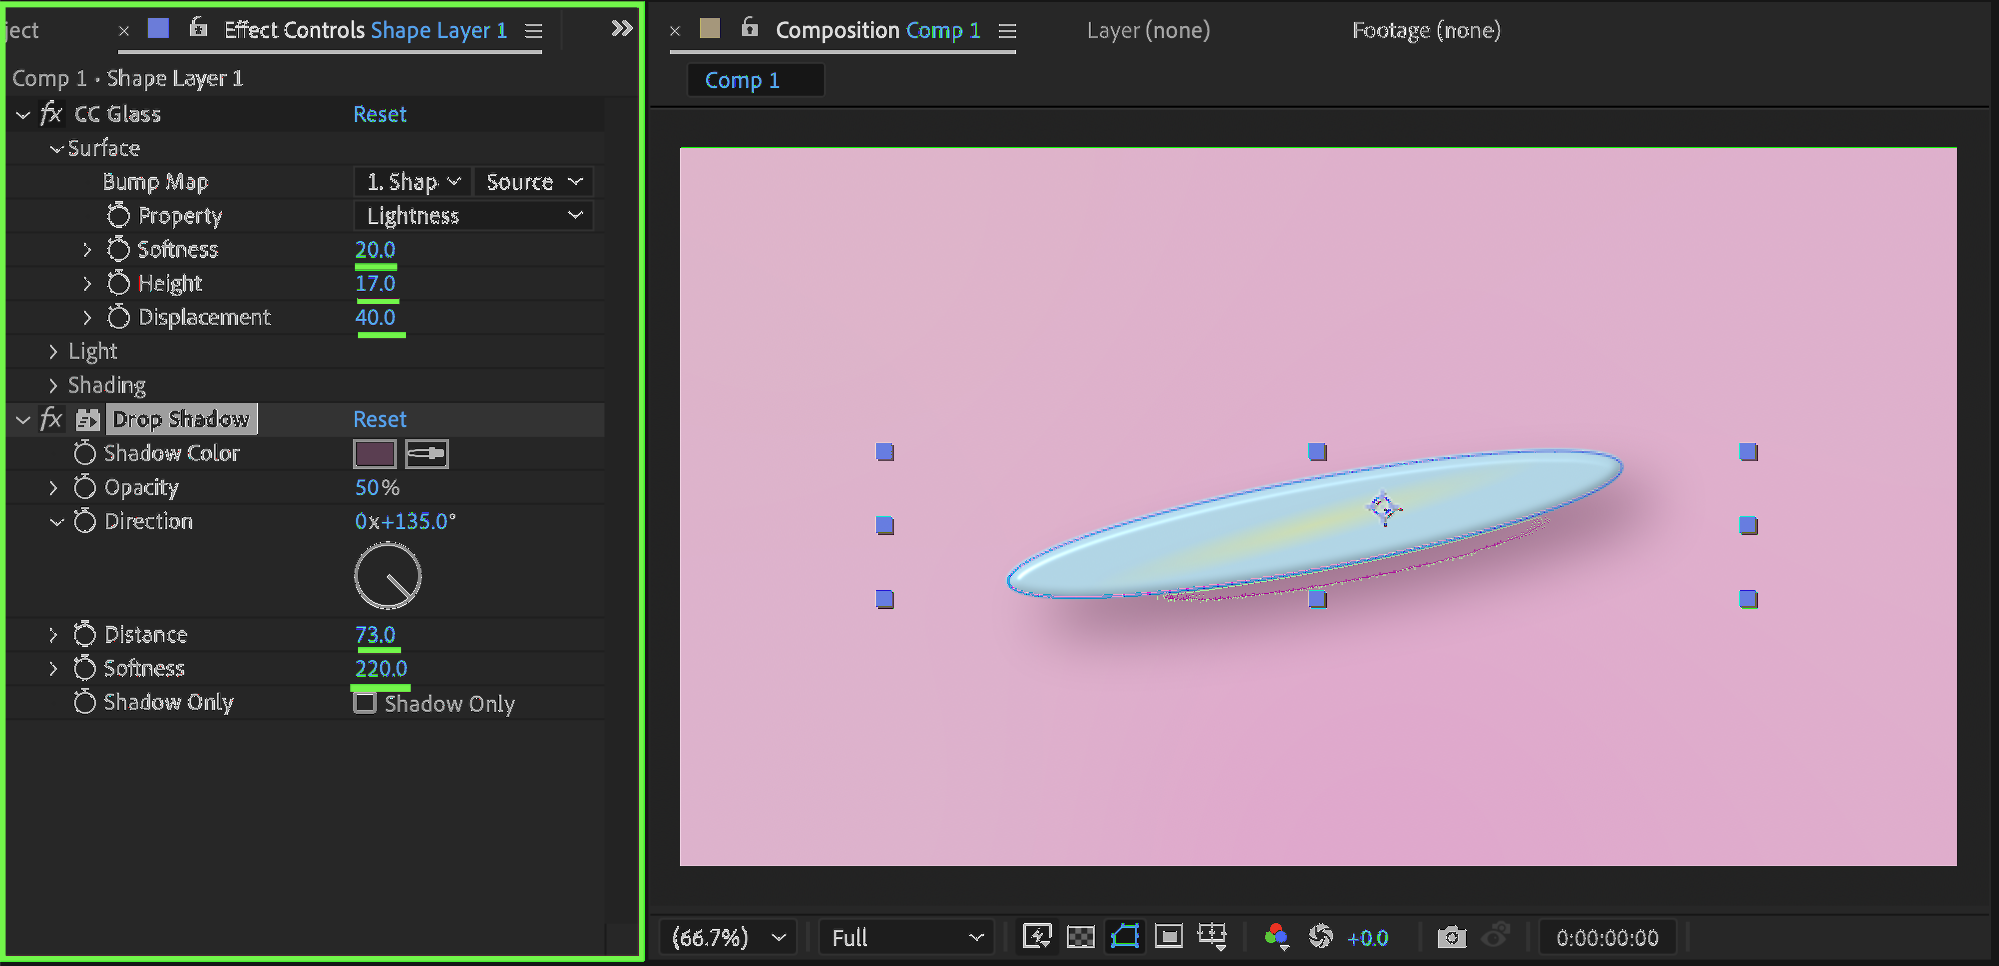
Adjust the effect settings to enhance lighting and dimension.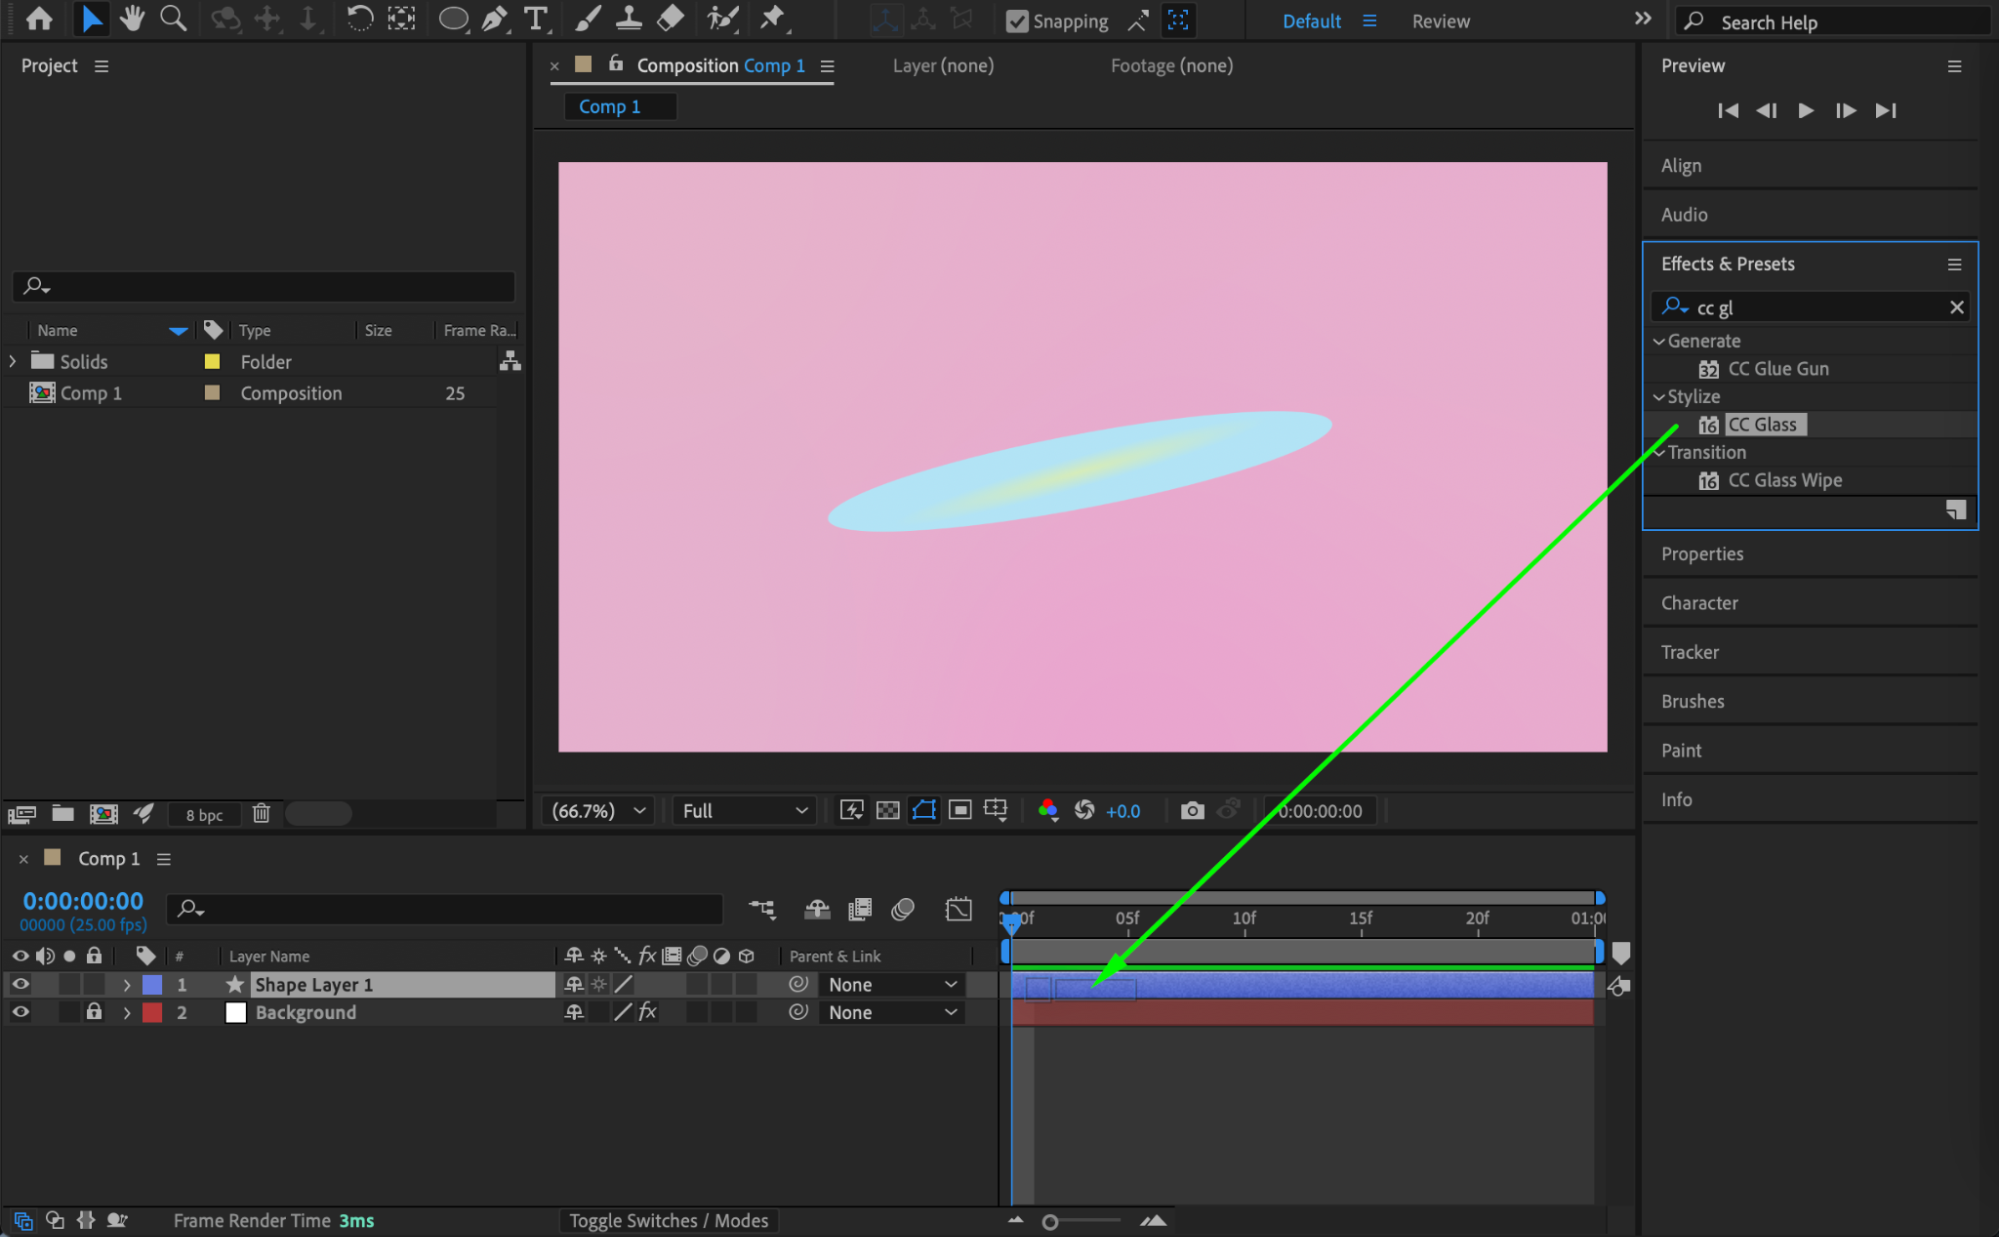
Step 5: Preview the Result
Preview the composition and fine-tune the skew, axis, and effects until the shape looks exactly how you want.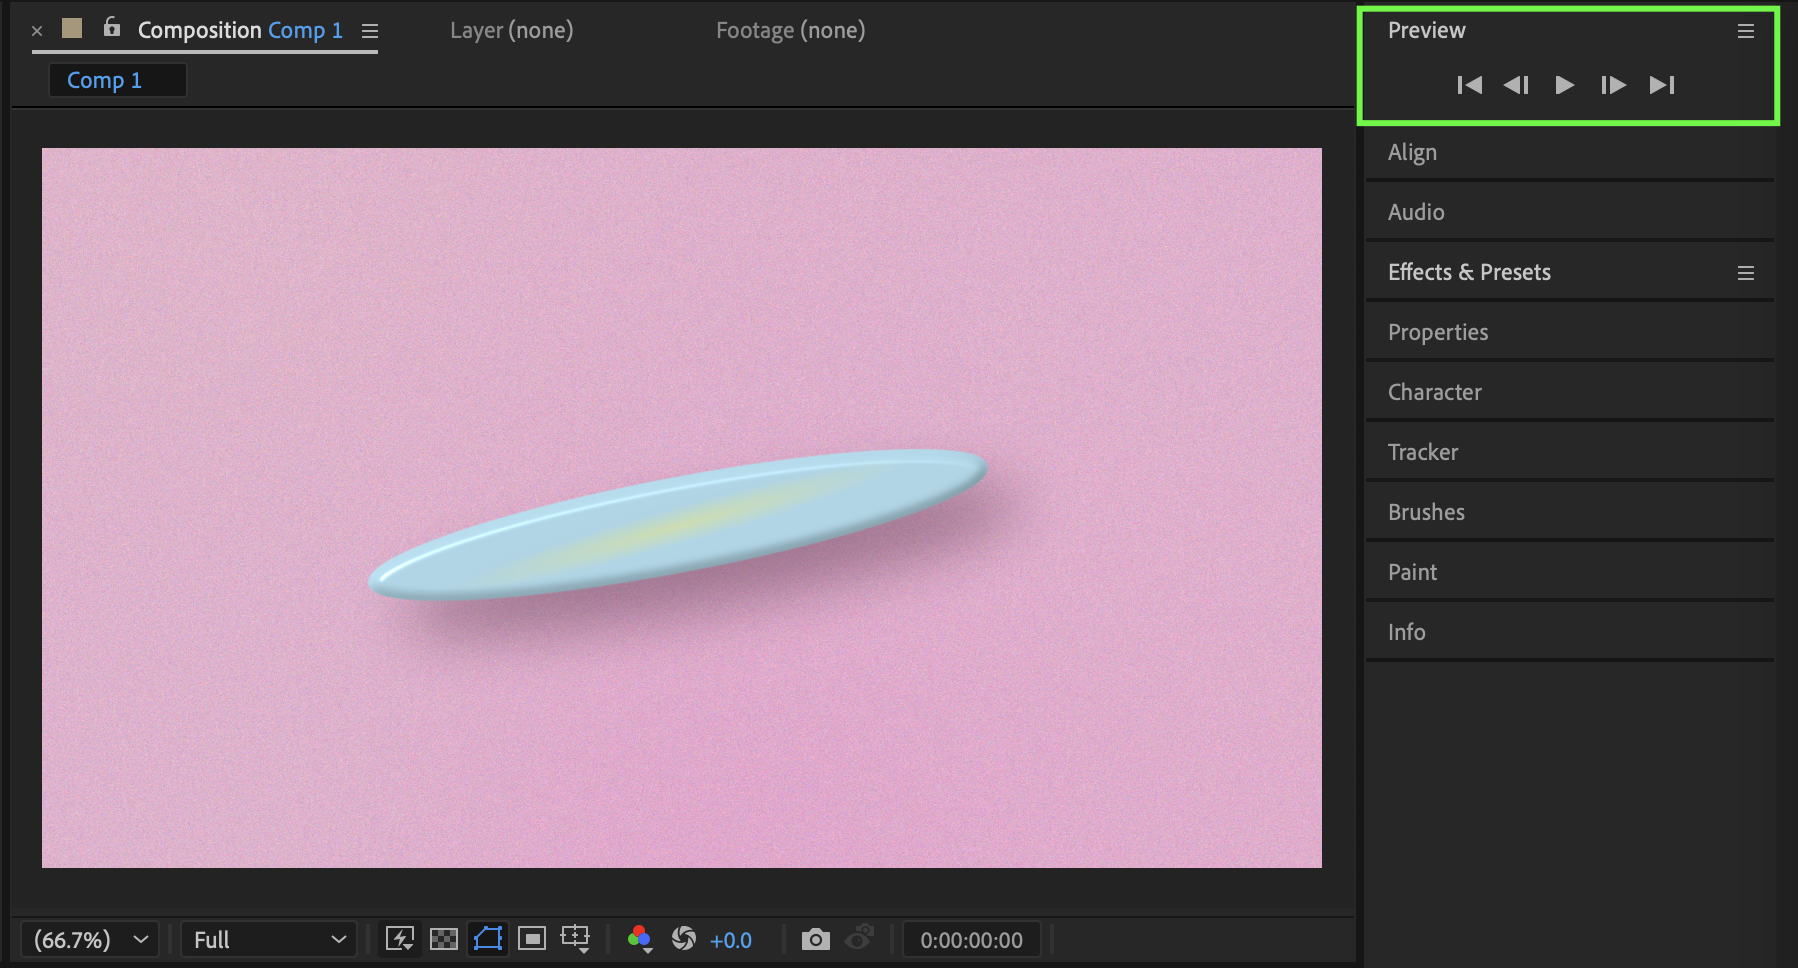
Conclusion
By using the Transform: Shape controls, you can easily skew shapes in After Effects without distorting the entire layer. Combining skew with subtle effects like shadows and glass helps create more dynamic and professional-looking designs.
Our Bestsellers


