How to Start Rendering in Adobe After Effects
Getting Started with Rendering in After Effects
Rendering in After Effects is the process of exporting your final composition into a playable video or other formats. By following these steps, you can easily prepare your project for rendering and ensure high-quality output.
Step 1: Finalize Your Composition
Get 10% off when you subscribe to our newsletter

Before you start rendering, ensure that your composition is complete and ready for export. Check that all layers, effects, and animations are in place. Scrub through the timeline to make sure everything looks as expected. This step is crucial to avoid having to render multiple times due to overlooked errors.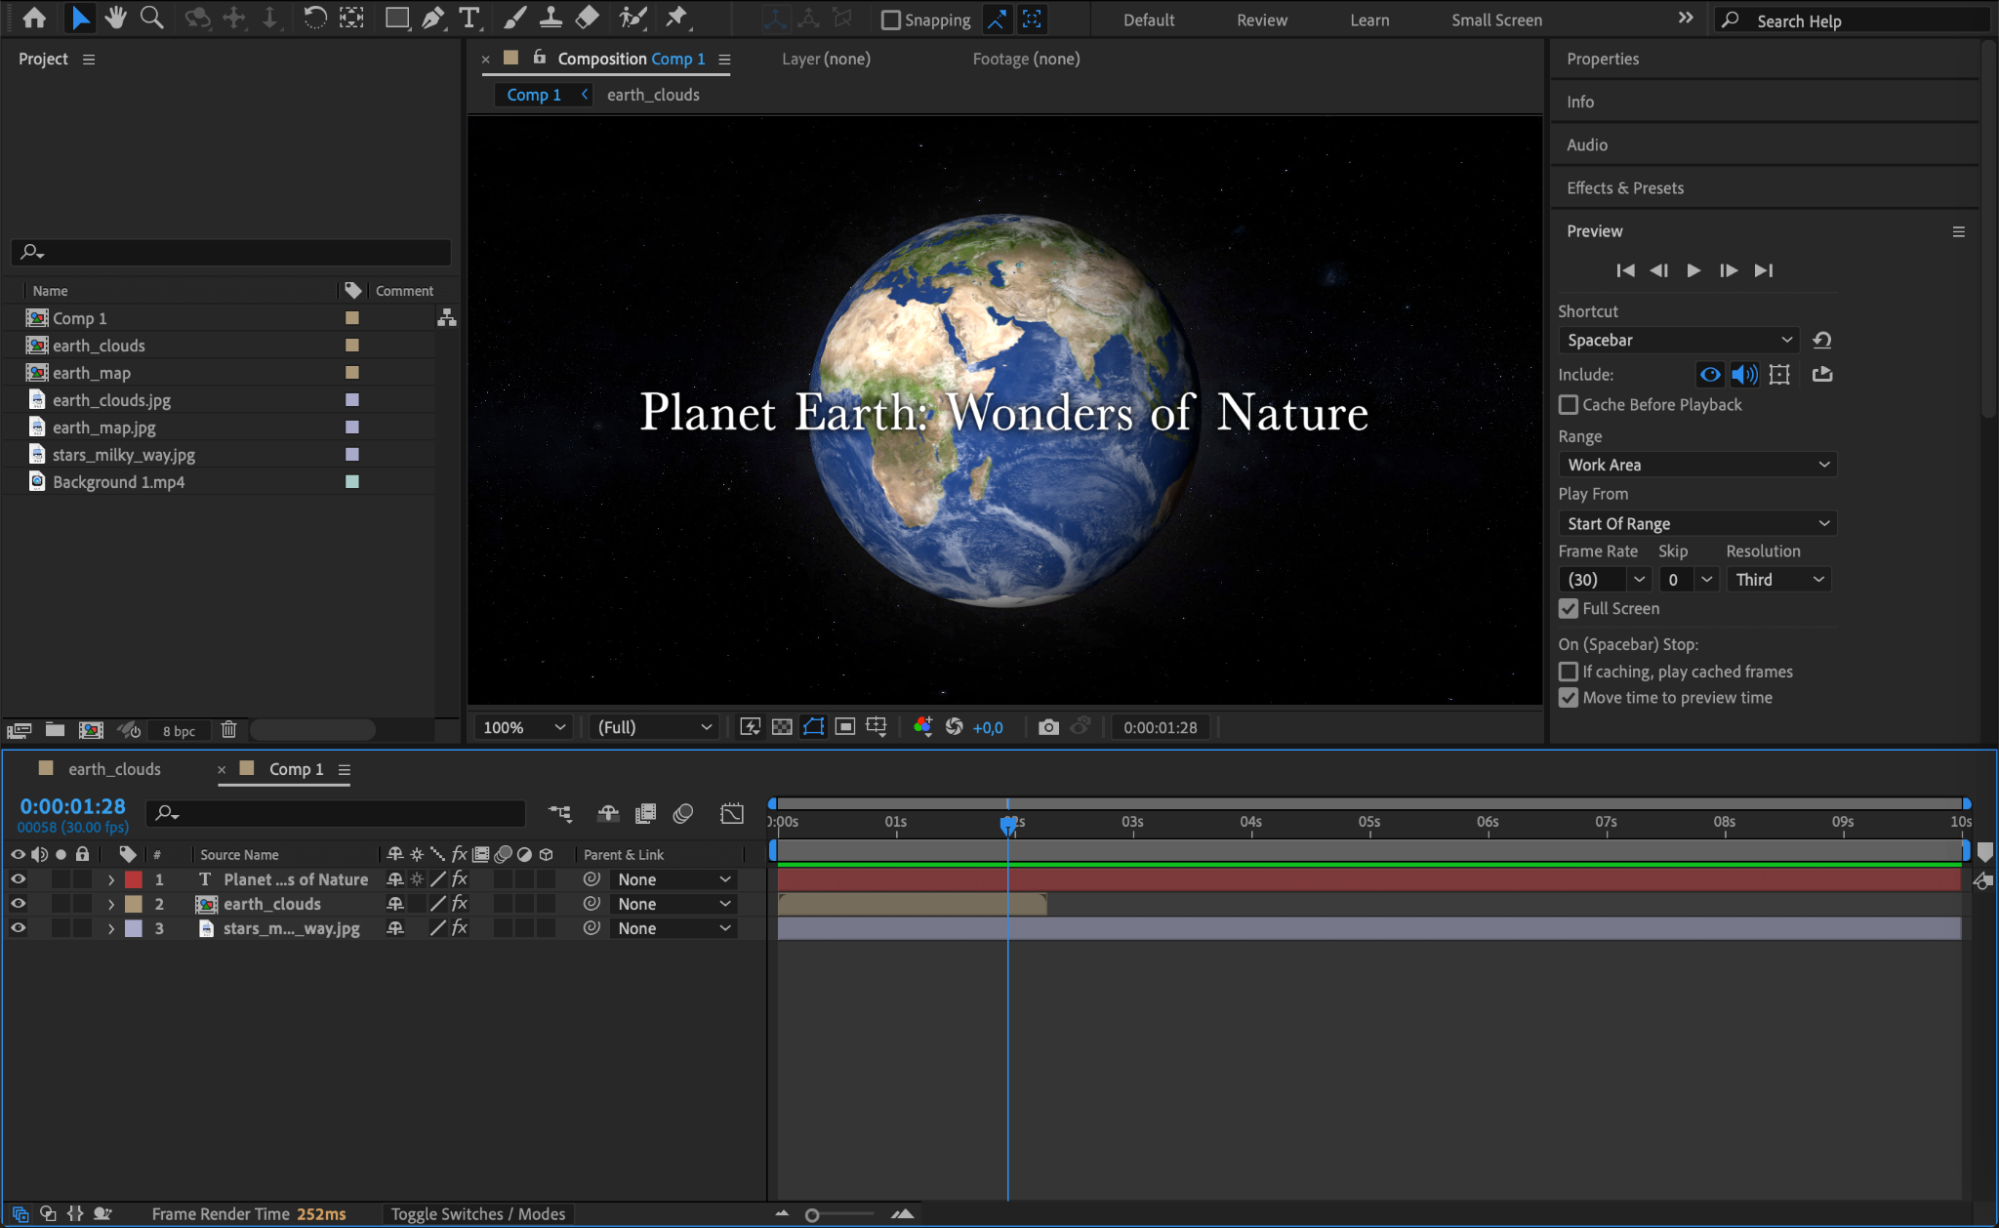 Step 2: Add to Render Queue
Get 10% off when you subscribe to our newsletter
Once your composition is finalized, go to the Composition menu at the top and select Add to Render Queue. This will send your project to the Render Queue, where you can manage your export settings.  Step 3: Adjust Render Settings
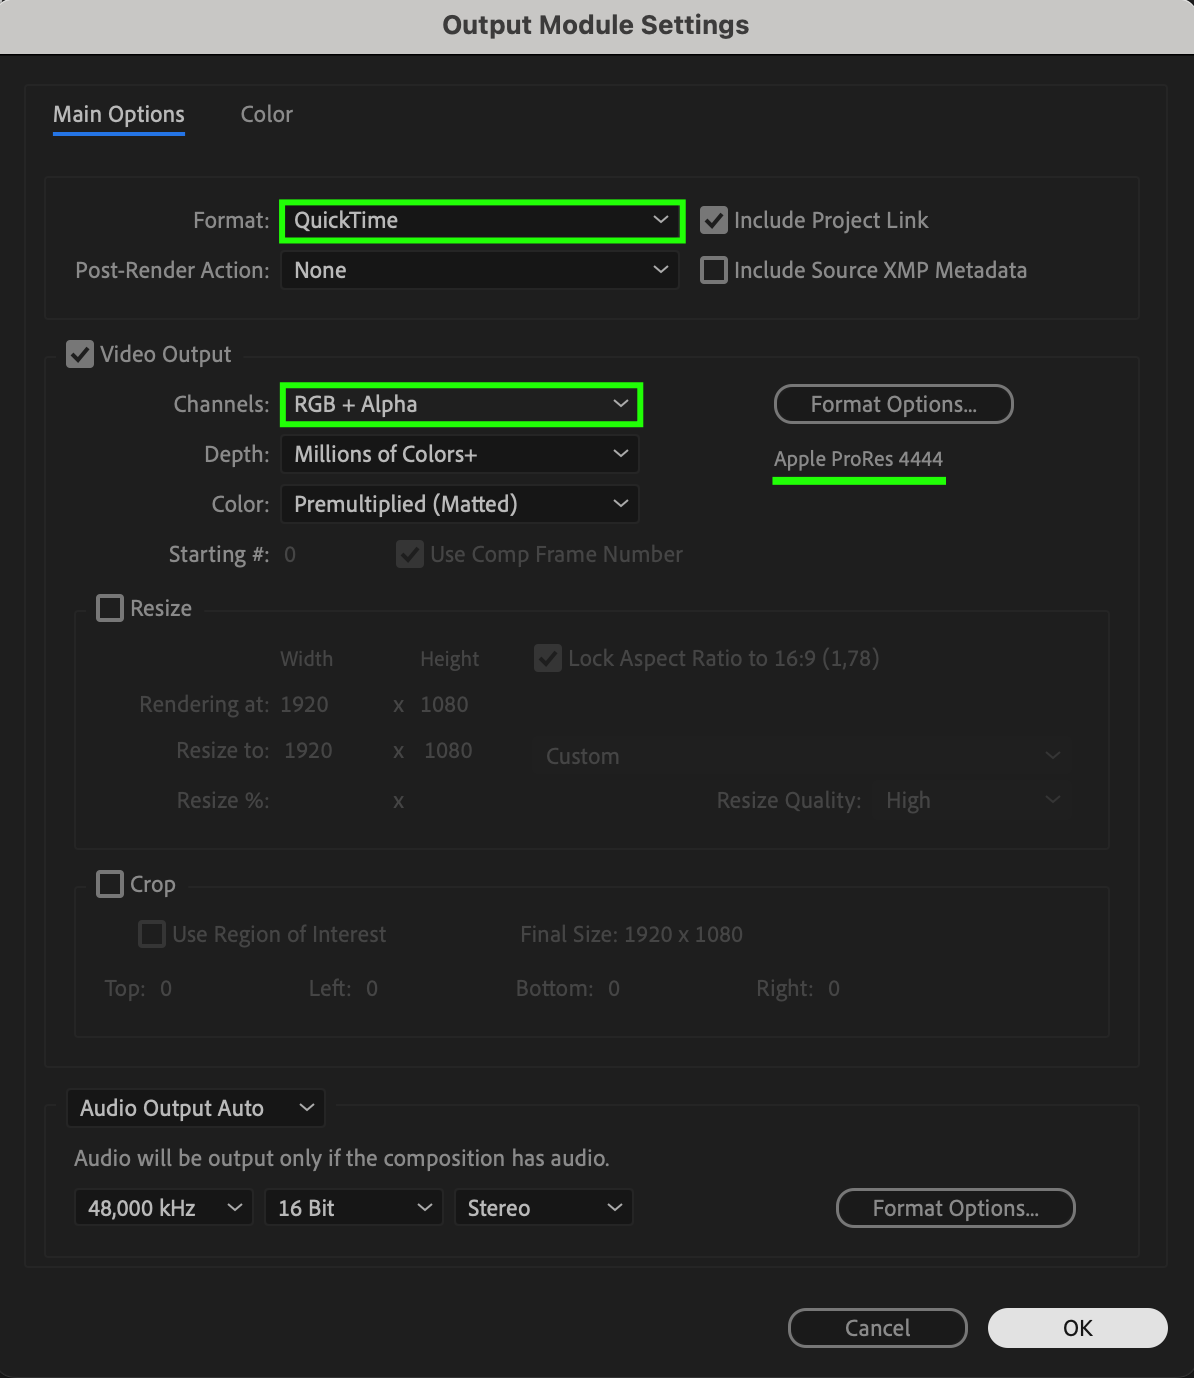
In the Render Queue panel, click on the text next to Output Module (default is usually set to “Lossless” or “High Quality”). This will open a window where you can adjust your render settings, such as format, channels, and codec. Select the format and settings that suit your project.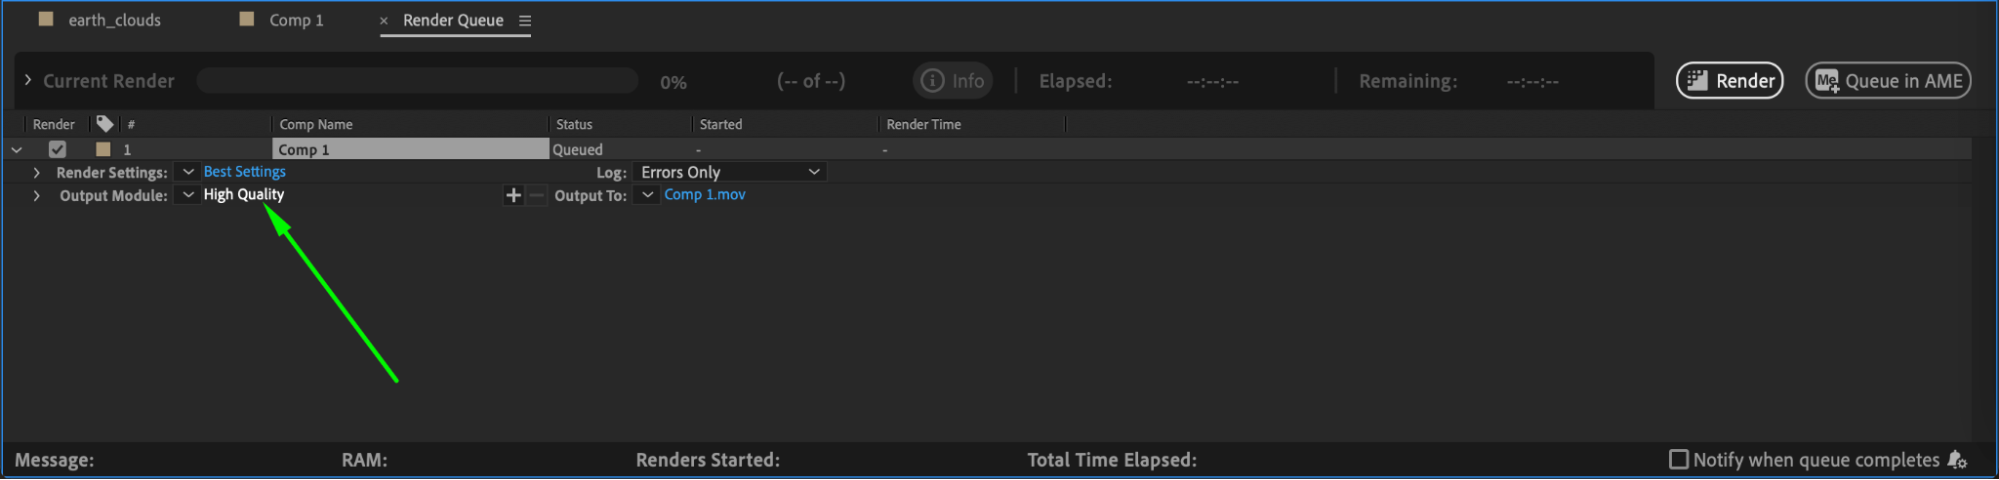
 Step 4: Set Output Destination
Get 10% off when you subscribe to our newsletter
Click on the text next to Output To (the default is the composition’s name). This will open a dialog box where you can specify the file name and location where you want to save the rendered file. Choose a folder and give your file an appropriate name for easy reference.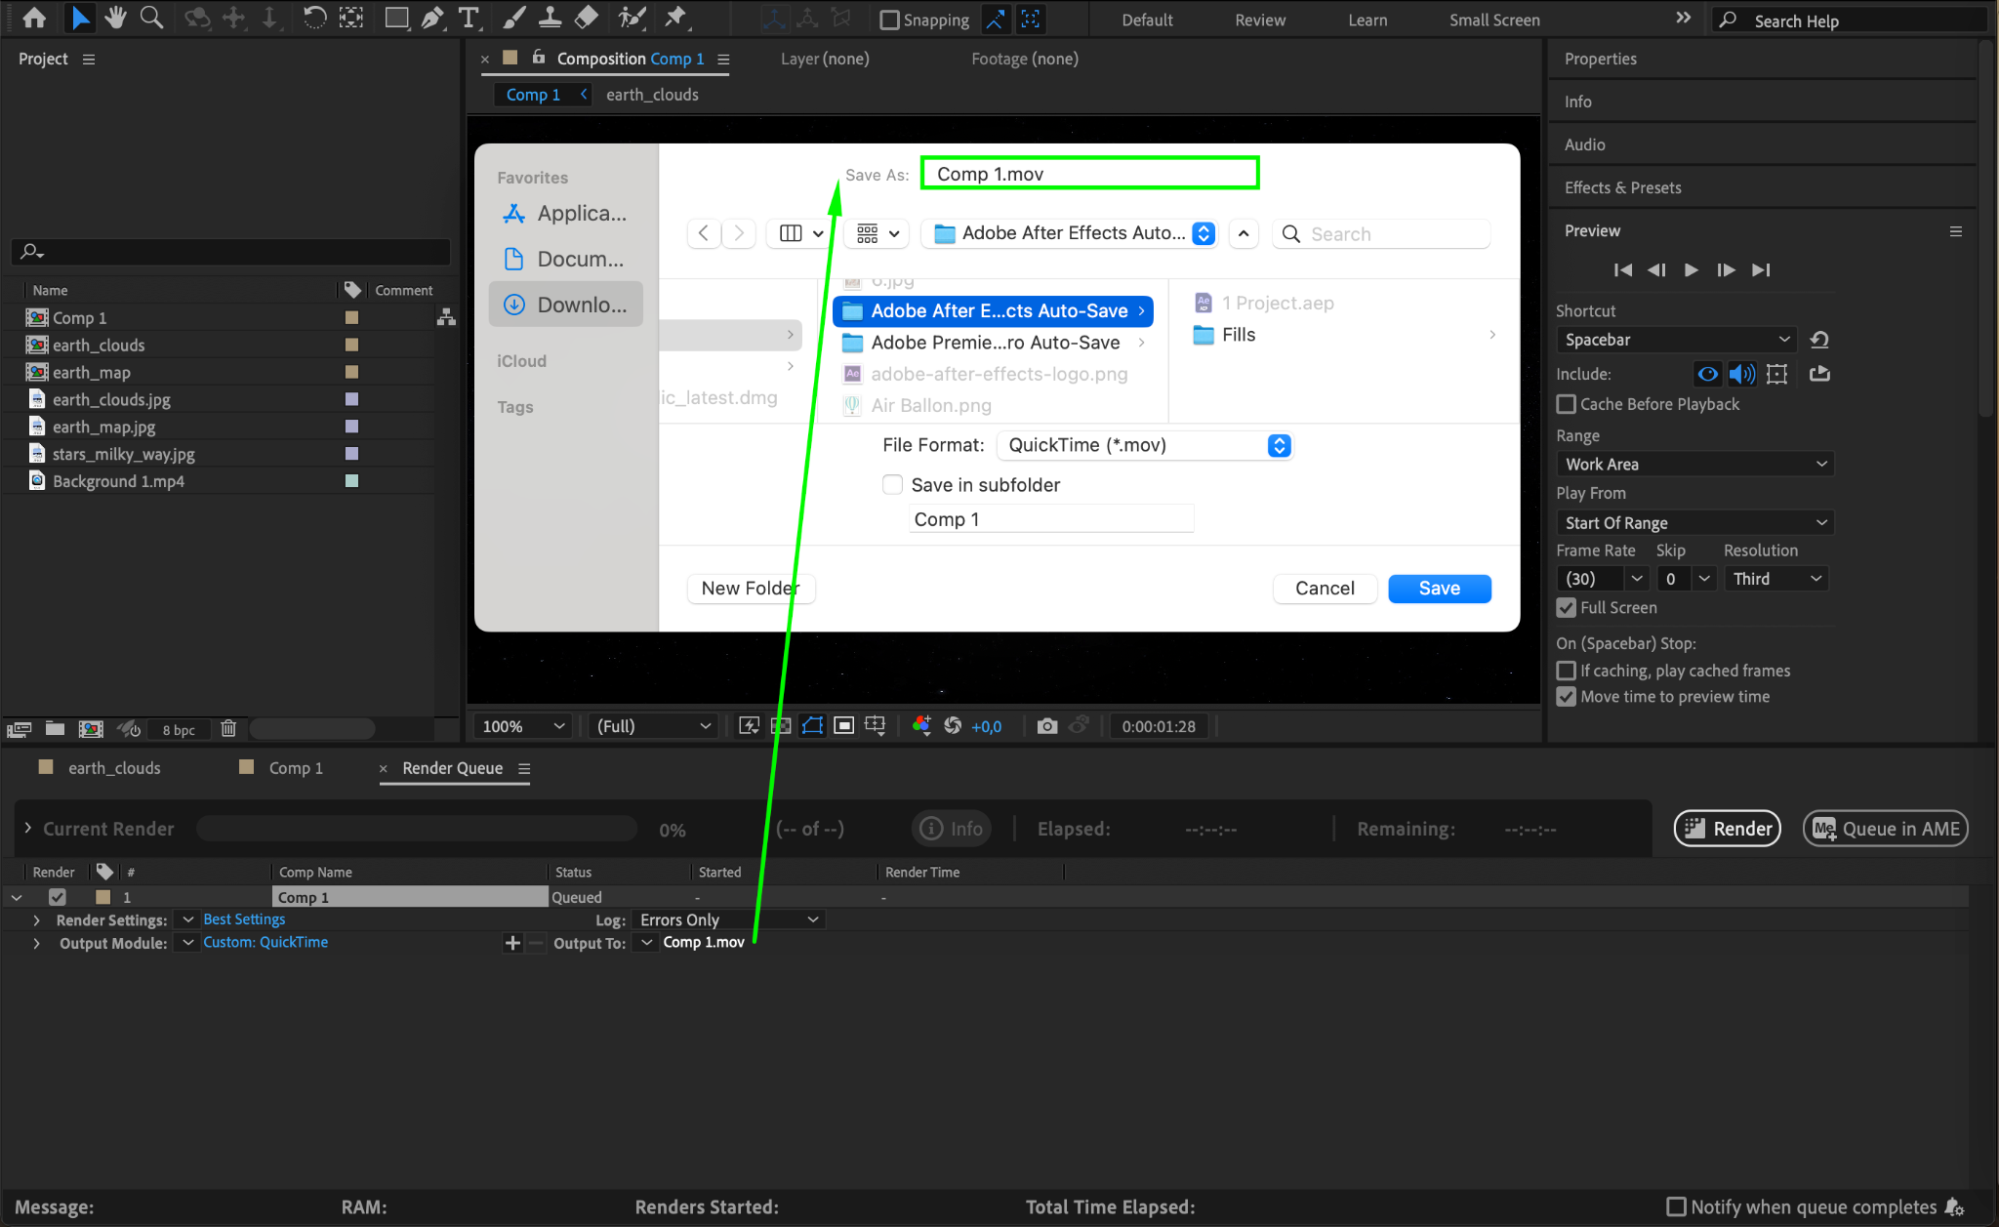 Step 5: Start the Render
When you’re ready to render, click the Render button located on the far right of the Render Queue panel. The rendering process will begin. Depending on the complexity of your composition and your chosen settings, rendering may take anywhere from a few minutes to several hours. You can monitor the progress through the progress bar.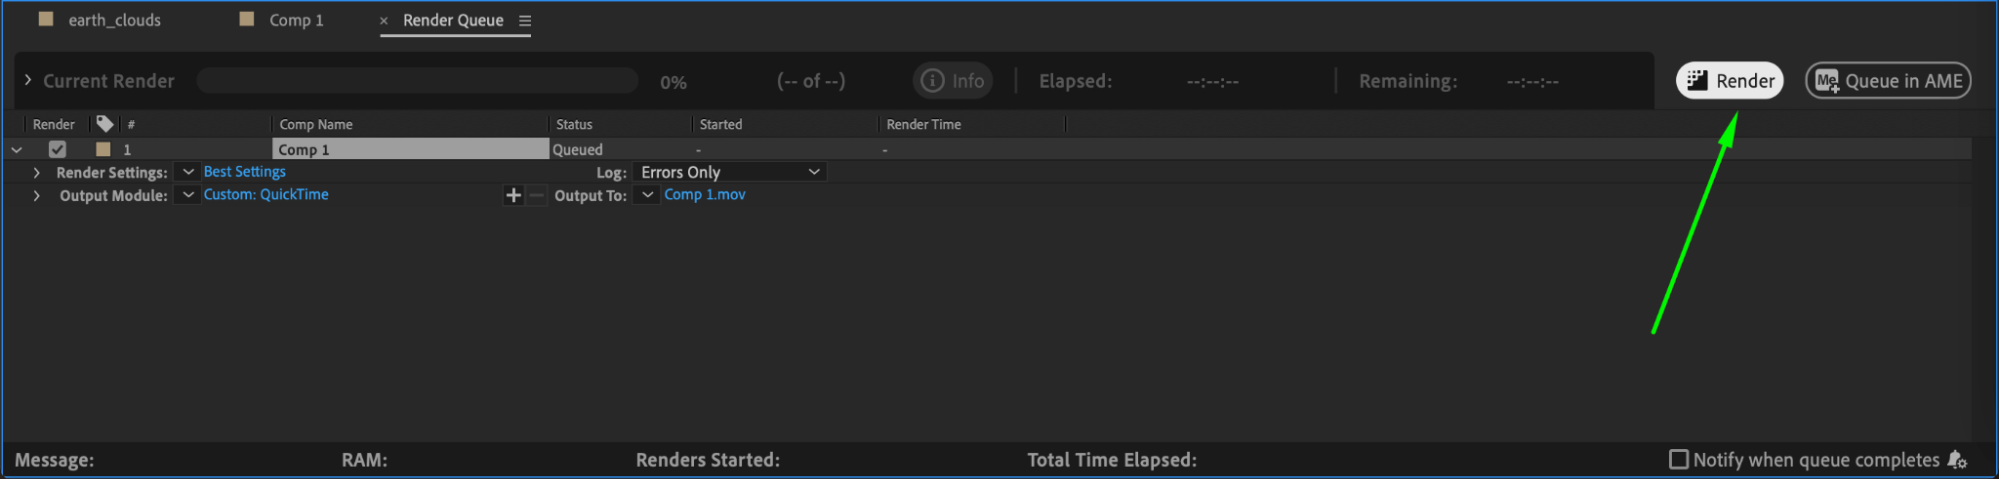 Step 6: Verify the Rendered Output
Get 10% off when you subscribe to our newsletter
Once rendering is complete, navigate to the folder where you saved your output file. Open the file to verify that everything has been rendered correctly. Check the video for any glitches, missing elements, or quality issues. If you notice any errors, you may need to go back to After Effects, adjust your composition or settings, and render again.
Conclusion
Rendering in After Effects is the final step to bring your project to life. By following these simple steps, you can ensure that your composition is properly rendered and ready for playback. Double-checking your output ensures that your final product meets your expectations, saving you time and effort in the long run.
Our Bestsellers


