Exploring the Art of Image Tracking: A Comprehensive Guide”
Are you eager to learn the art of tracking an image in Adobe After Effects? In this detailed guide, we will take you through the step-by-step process of utilizing motion tracking techniques effectively. By following these simple instructions, you can seamlessly integrate your desired image into your video projects and enhance the visual appeal of your content.
Step 1: Import Video and Image
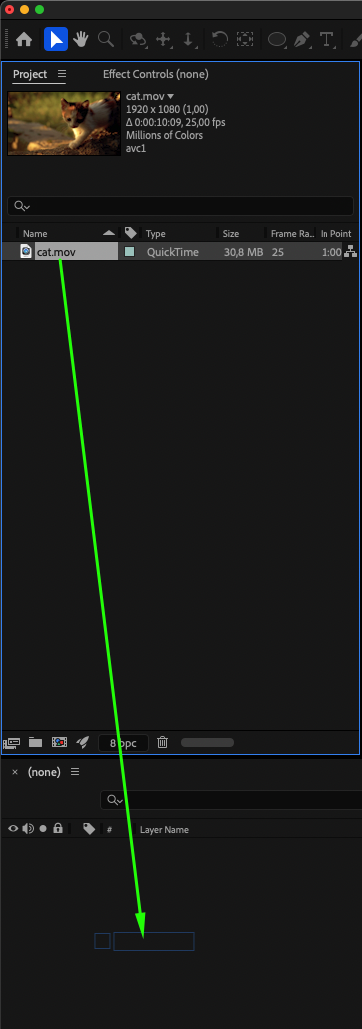
Upload your video and image into Adobe After Effects, then drag the video onto the timeline.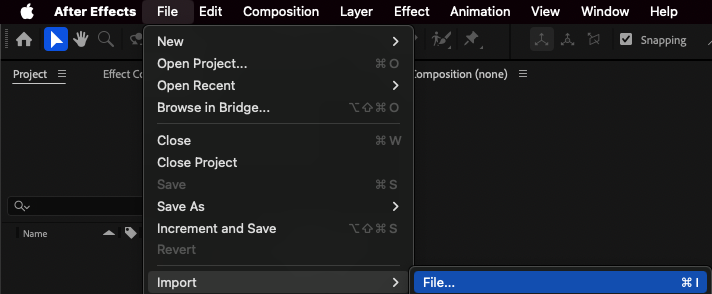
 Step 2: Create Track
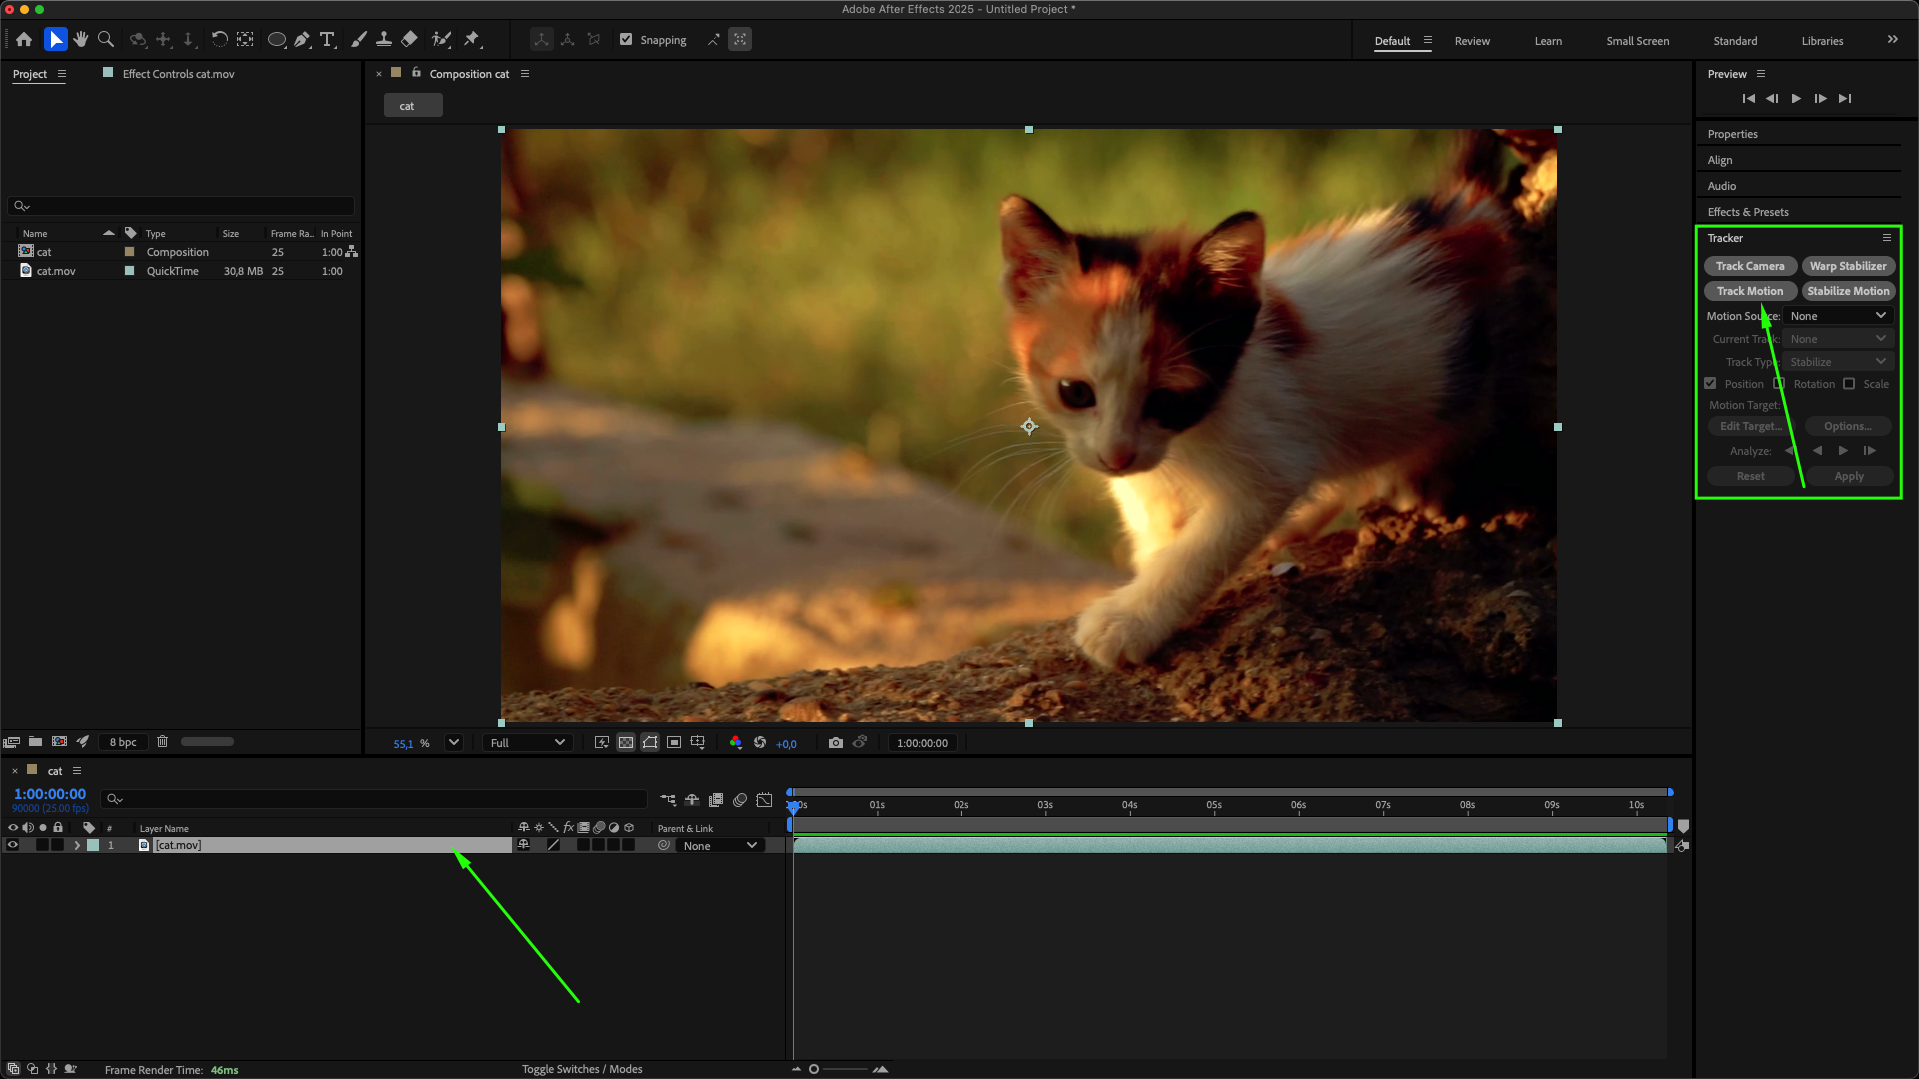
Select your video layer on the timeline panel, then choose Track Motion from the Tracker panel menu.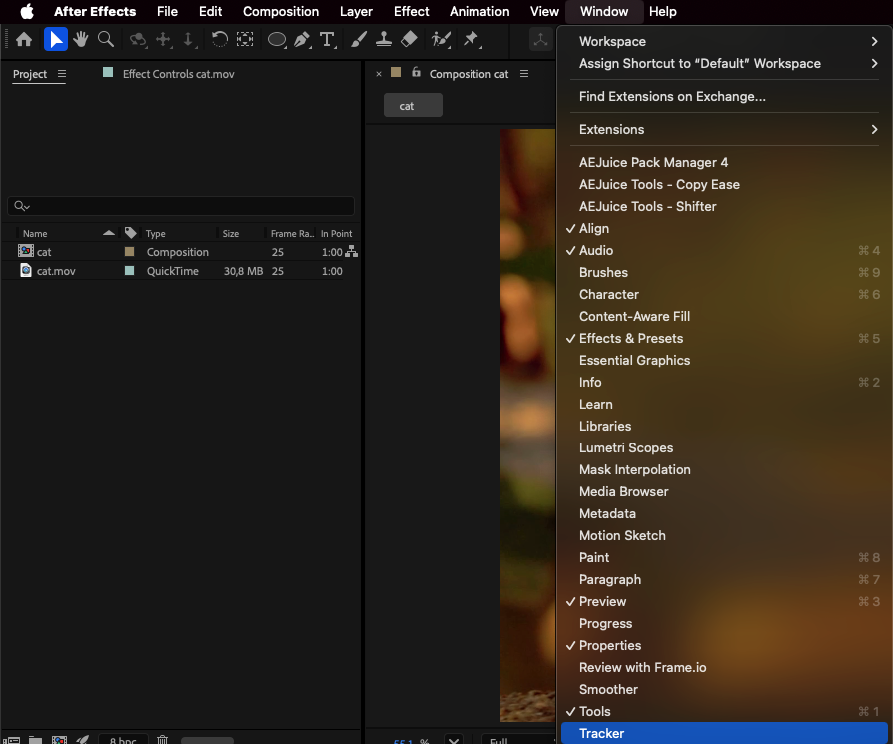
Step 3: Place Track Point
Position Track Point 1 on the moving object to which you want to attach your image.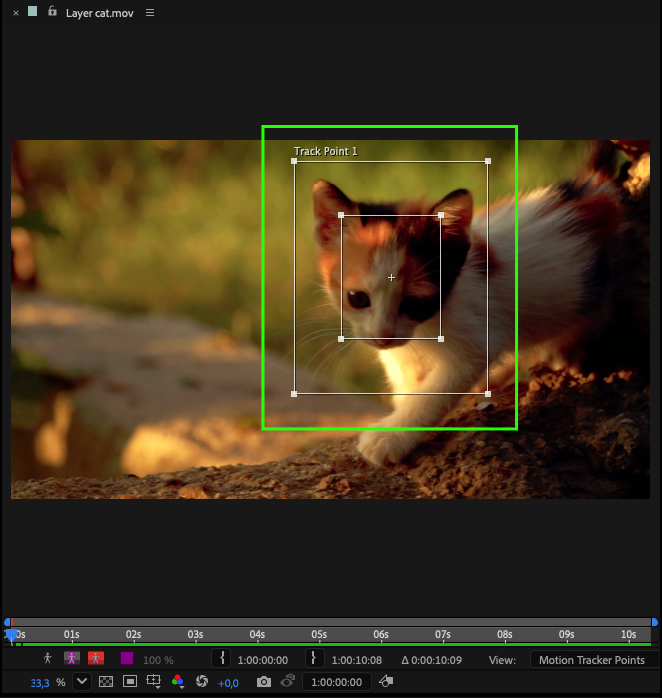 Step 4: Track Object
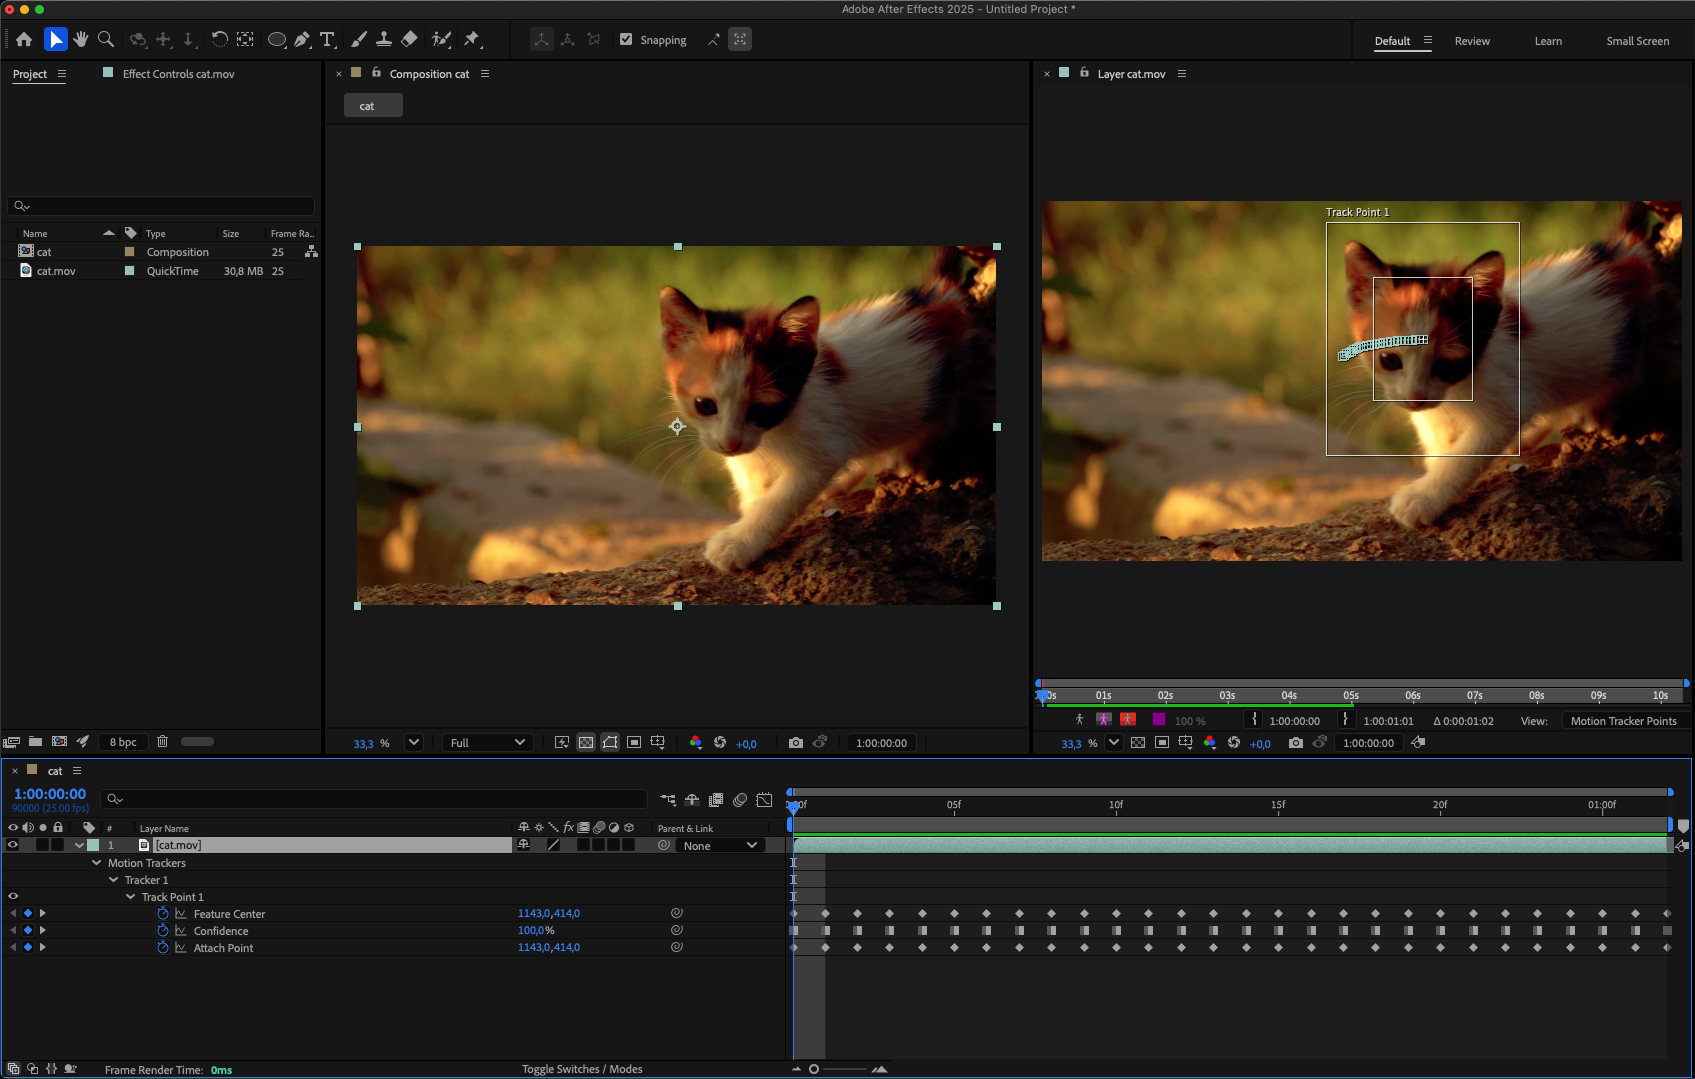
Press the Analyze/Play button to begin tracking the object automatically, or track it frame by frame for more precision.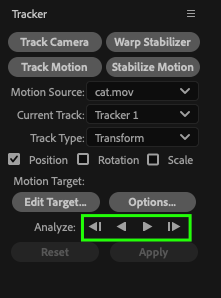
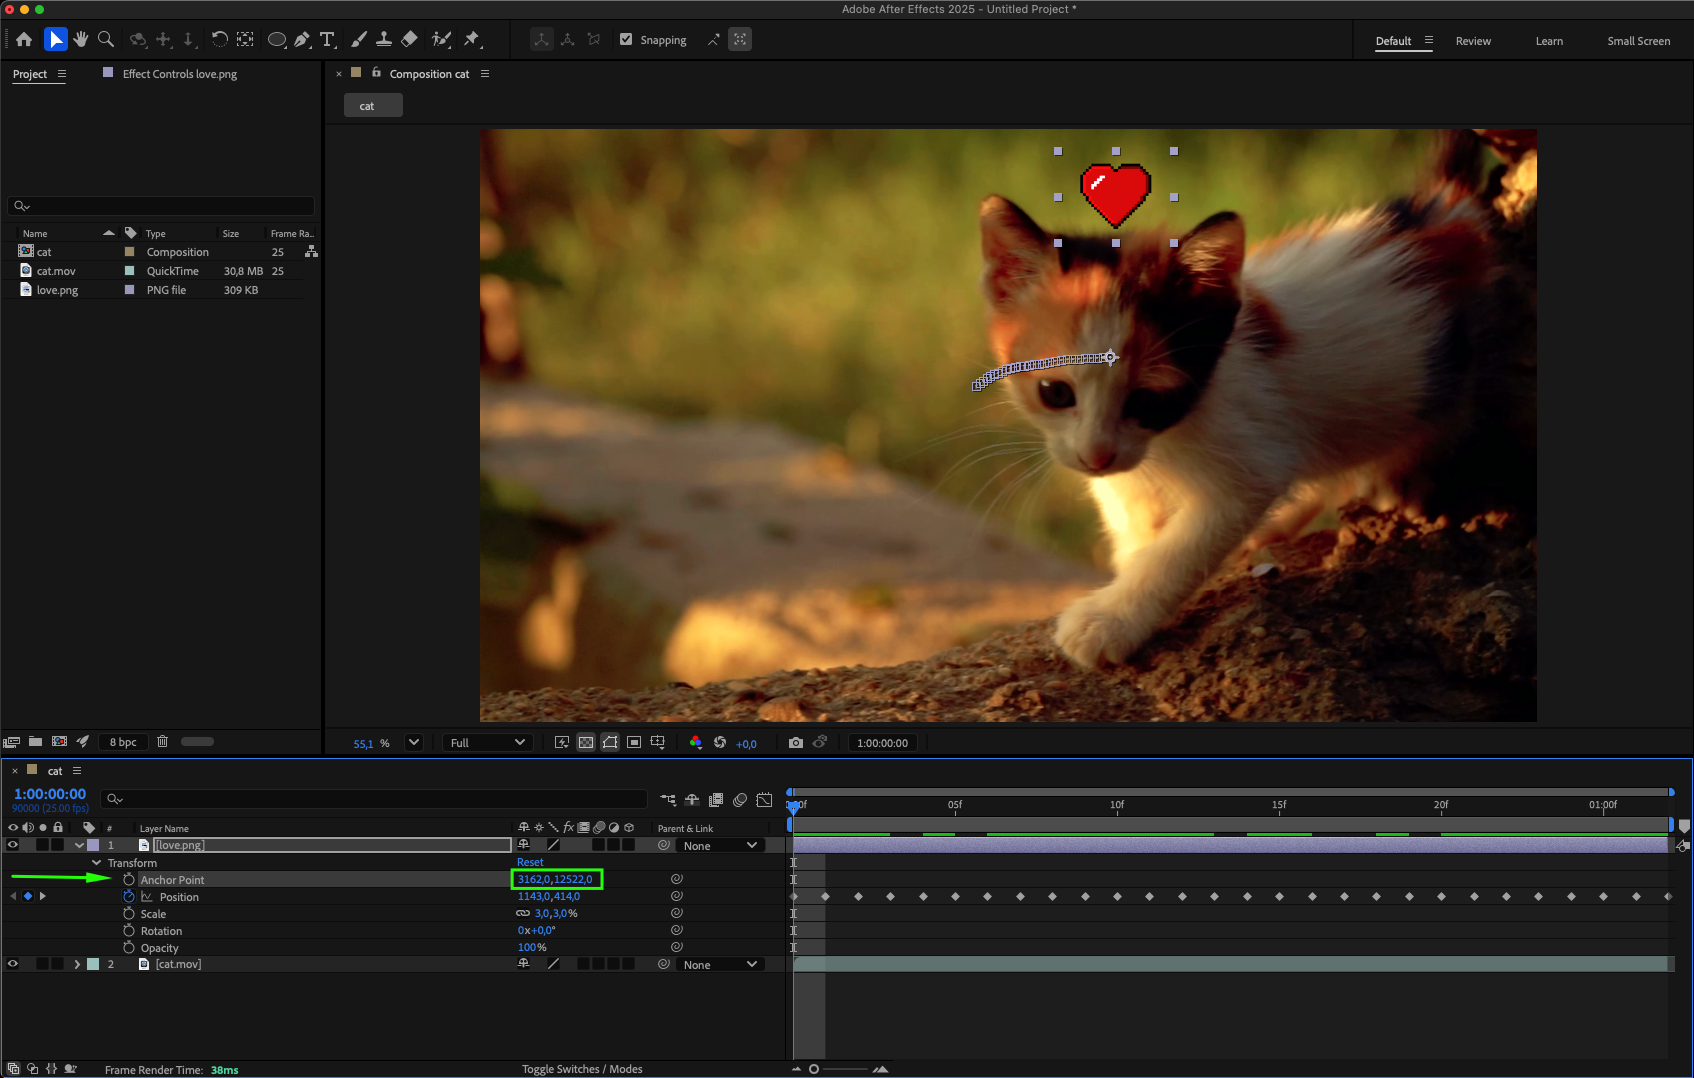
Step 5: Attach Image to Track
Expand the properties of your video layer, locate the Attach Point property under Track Point 1, and copy it. Then expand the image layer and paste the copied data into the Position property. Adjust other settings such as Scale and Anchor Point to align the image correctly.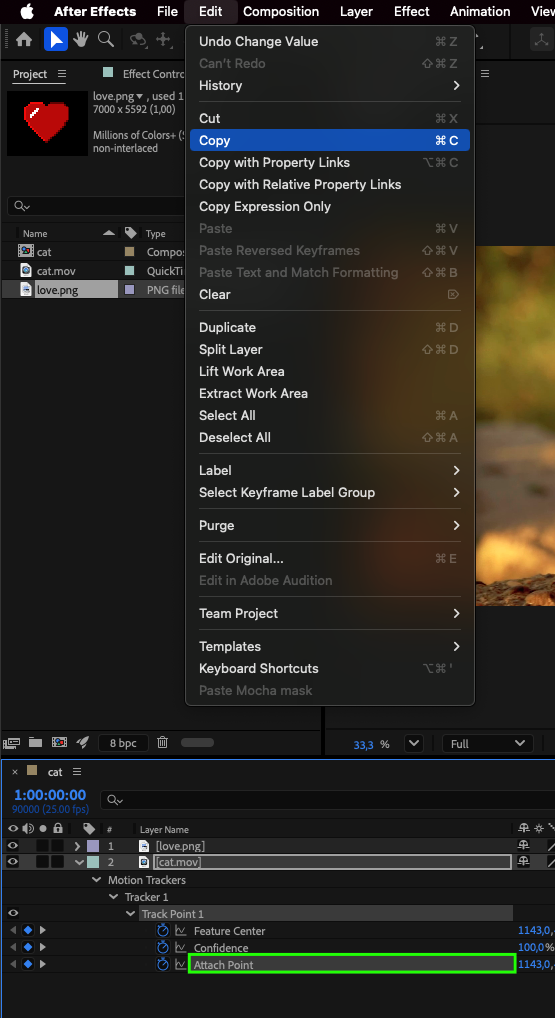

 Step 6: Preview
Play back your composition to check the tracking result and make any necessary adjustments.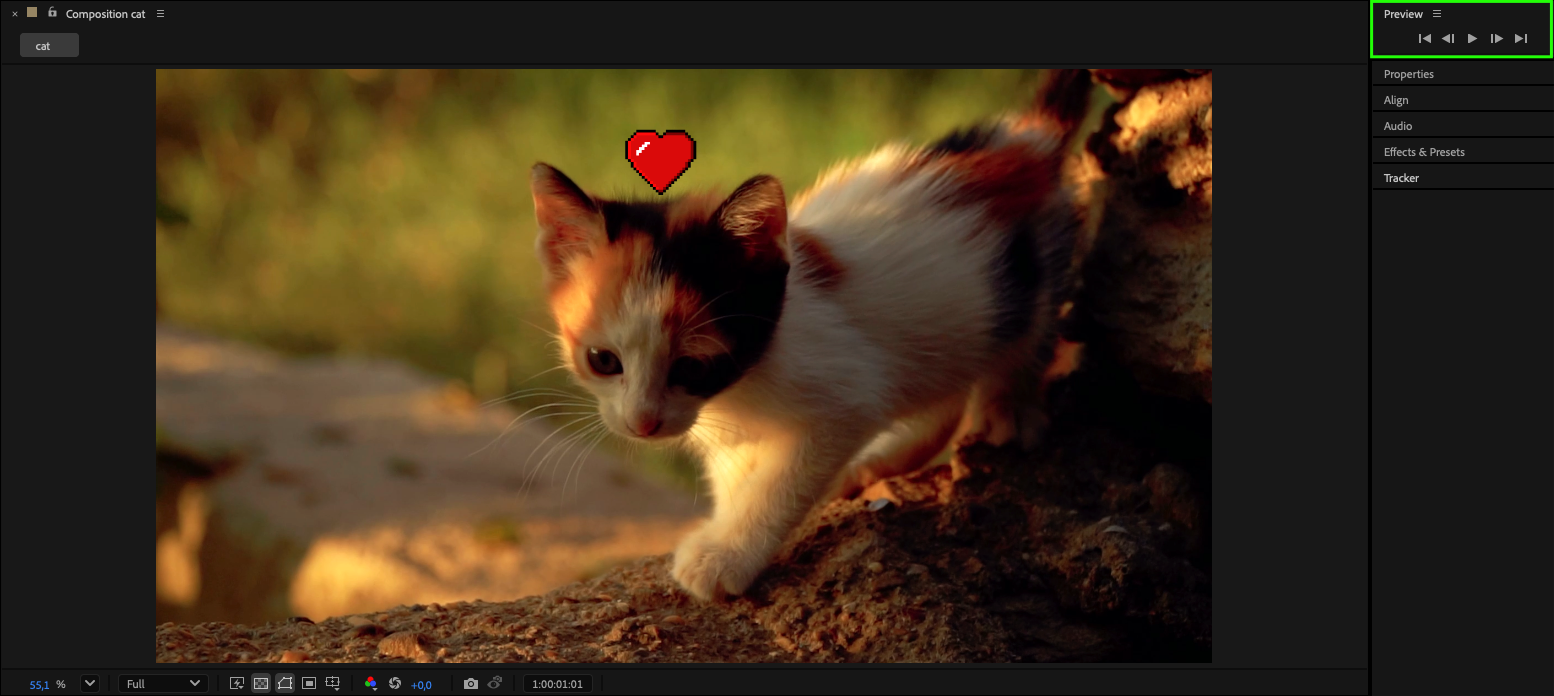
Conclusion
With these simple steps, you can easily make an image follow a moving object in your video.
Mastering motion tracking in After Effects will allow you to create dynamic and engaging visuals for your projects.
Our Bestsellers

