Learn how to create a smooth and natural bird flight animation in After Effects by animating wing flaps, looping motion, and adding flight movement with motion blur.
Introduction
Animating a bird in After Effects is a great way to practice symmetrical motion, looping animations, and secondary movement. In this tutorial, you’ll animate wing flapping using scale animation and then create a natural flying trajectory.
Step 1: Prepare Your Layers
Open your project where you have three layers:
One layer for the bird’s body
One layer for Wing 1
One layer for Wing 2
 Step 2: Set Wing Anchor Points
Use the Pan Behind Tool (Y) to move the anchor point of each wing layer to the center of the wing, exactly where it connects to the bird’s body.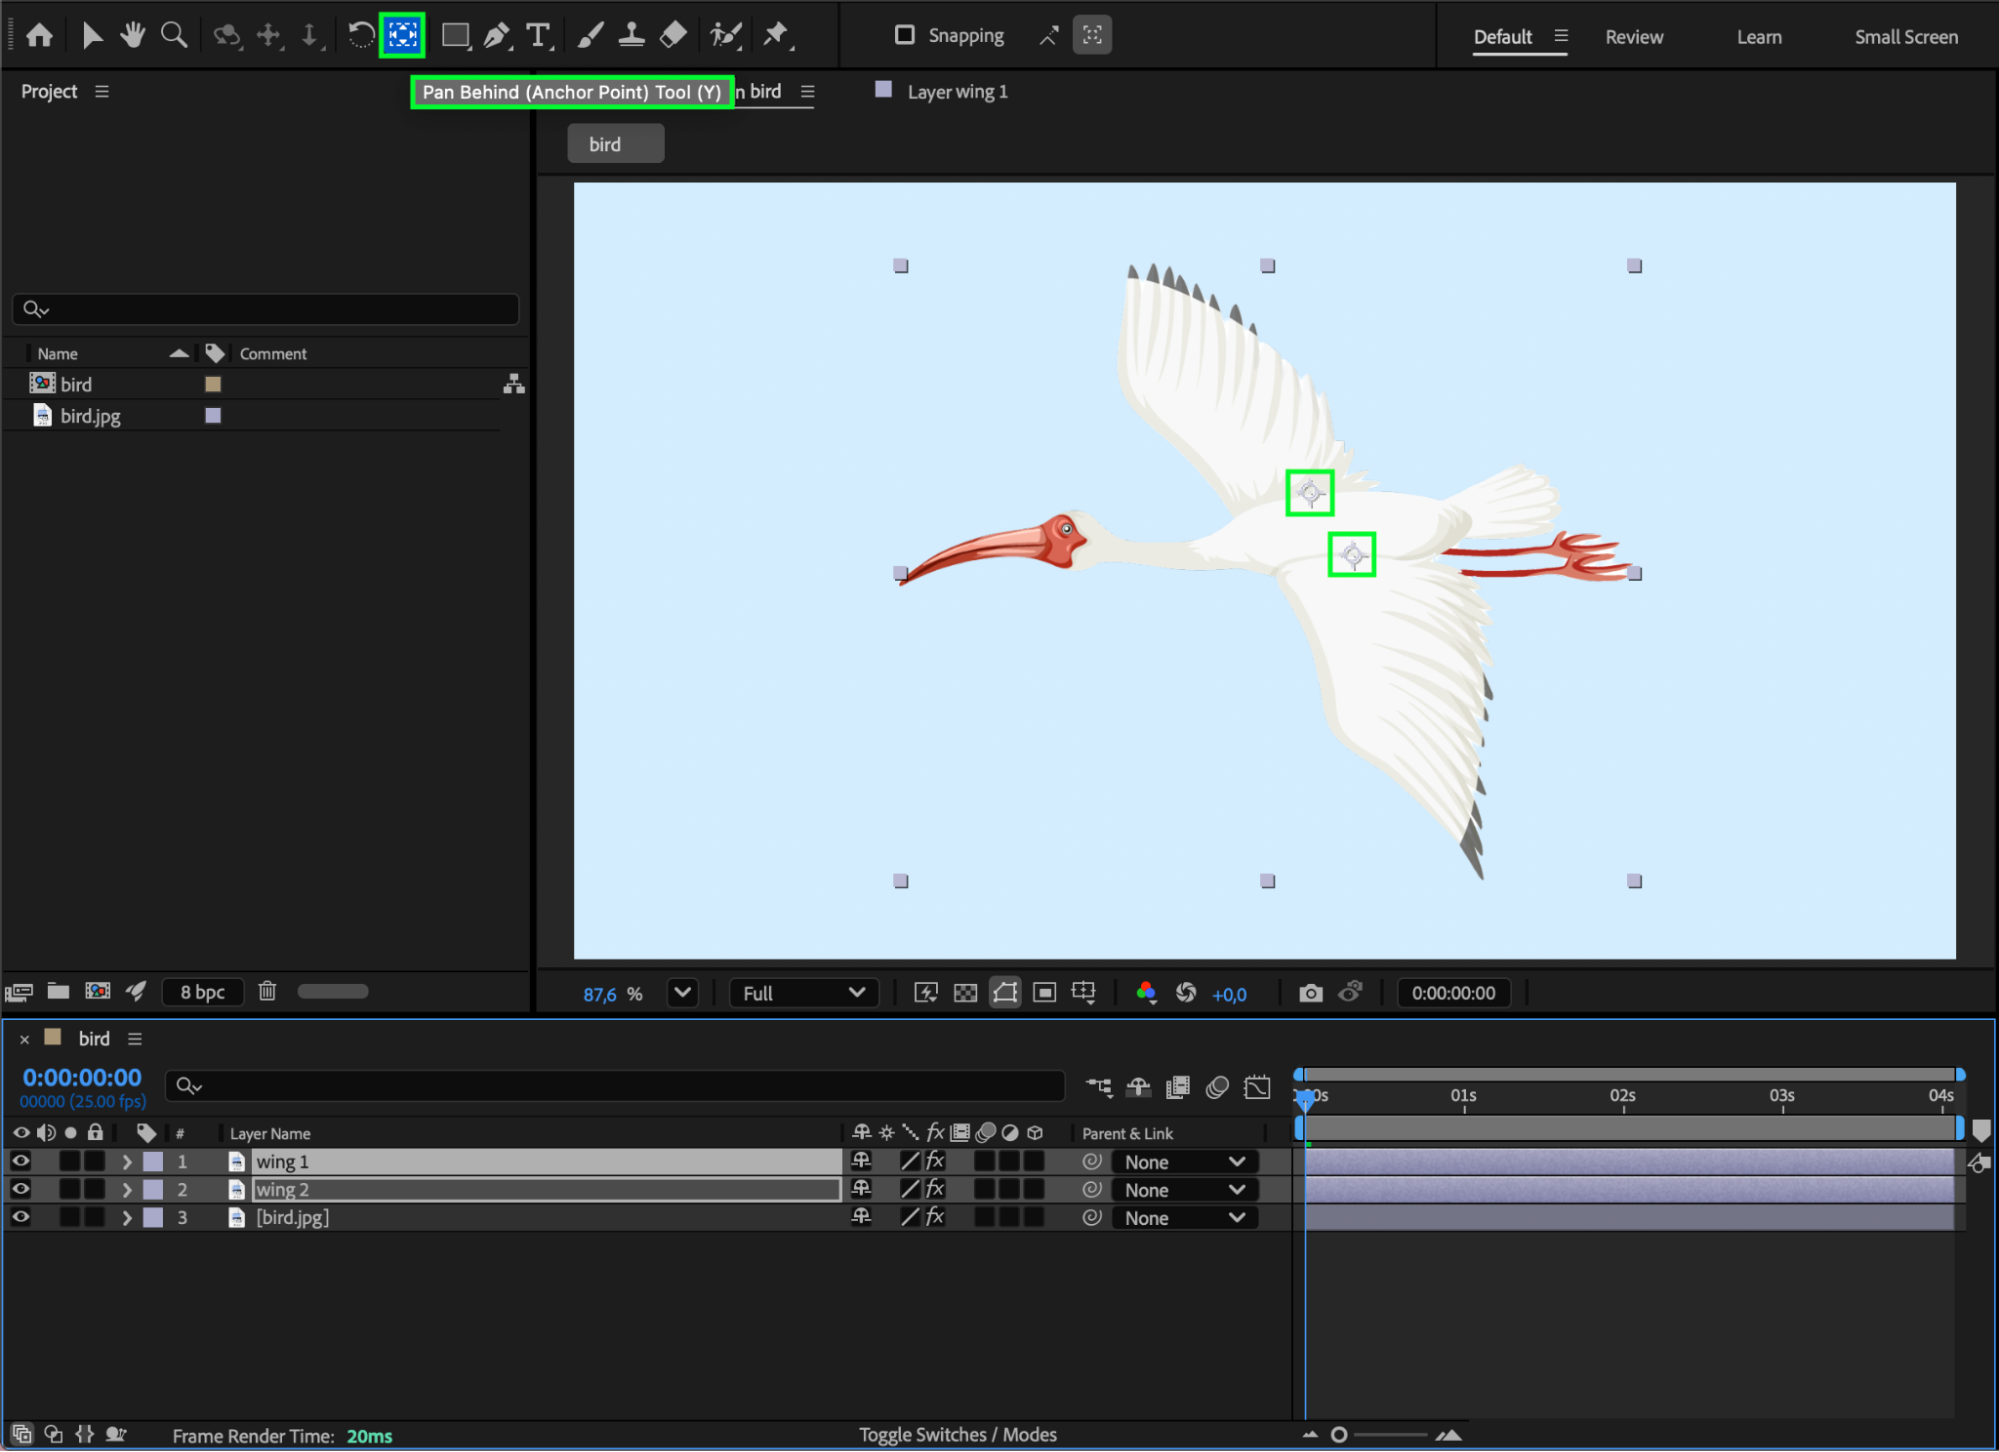 Step 3: Set Initial Keyframes
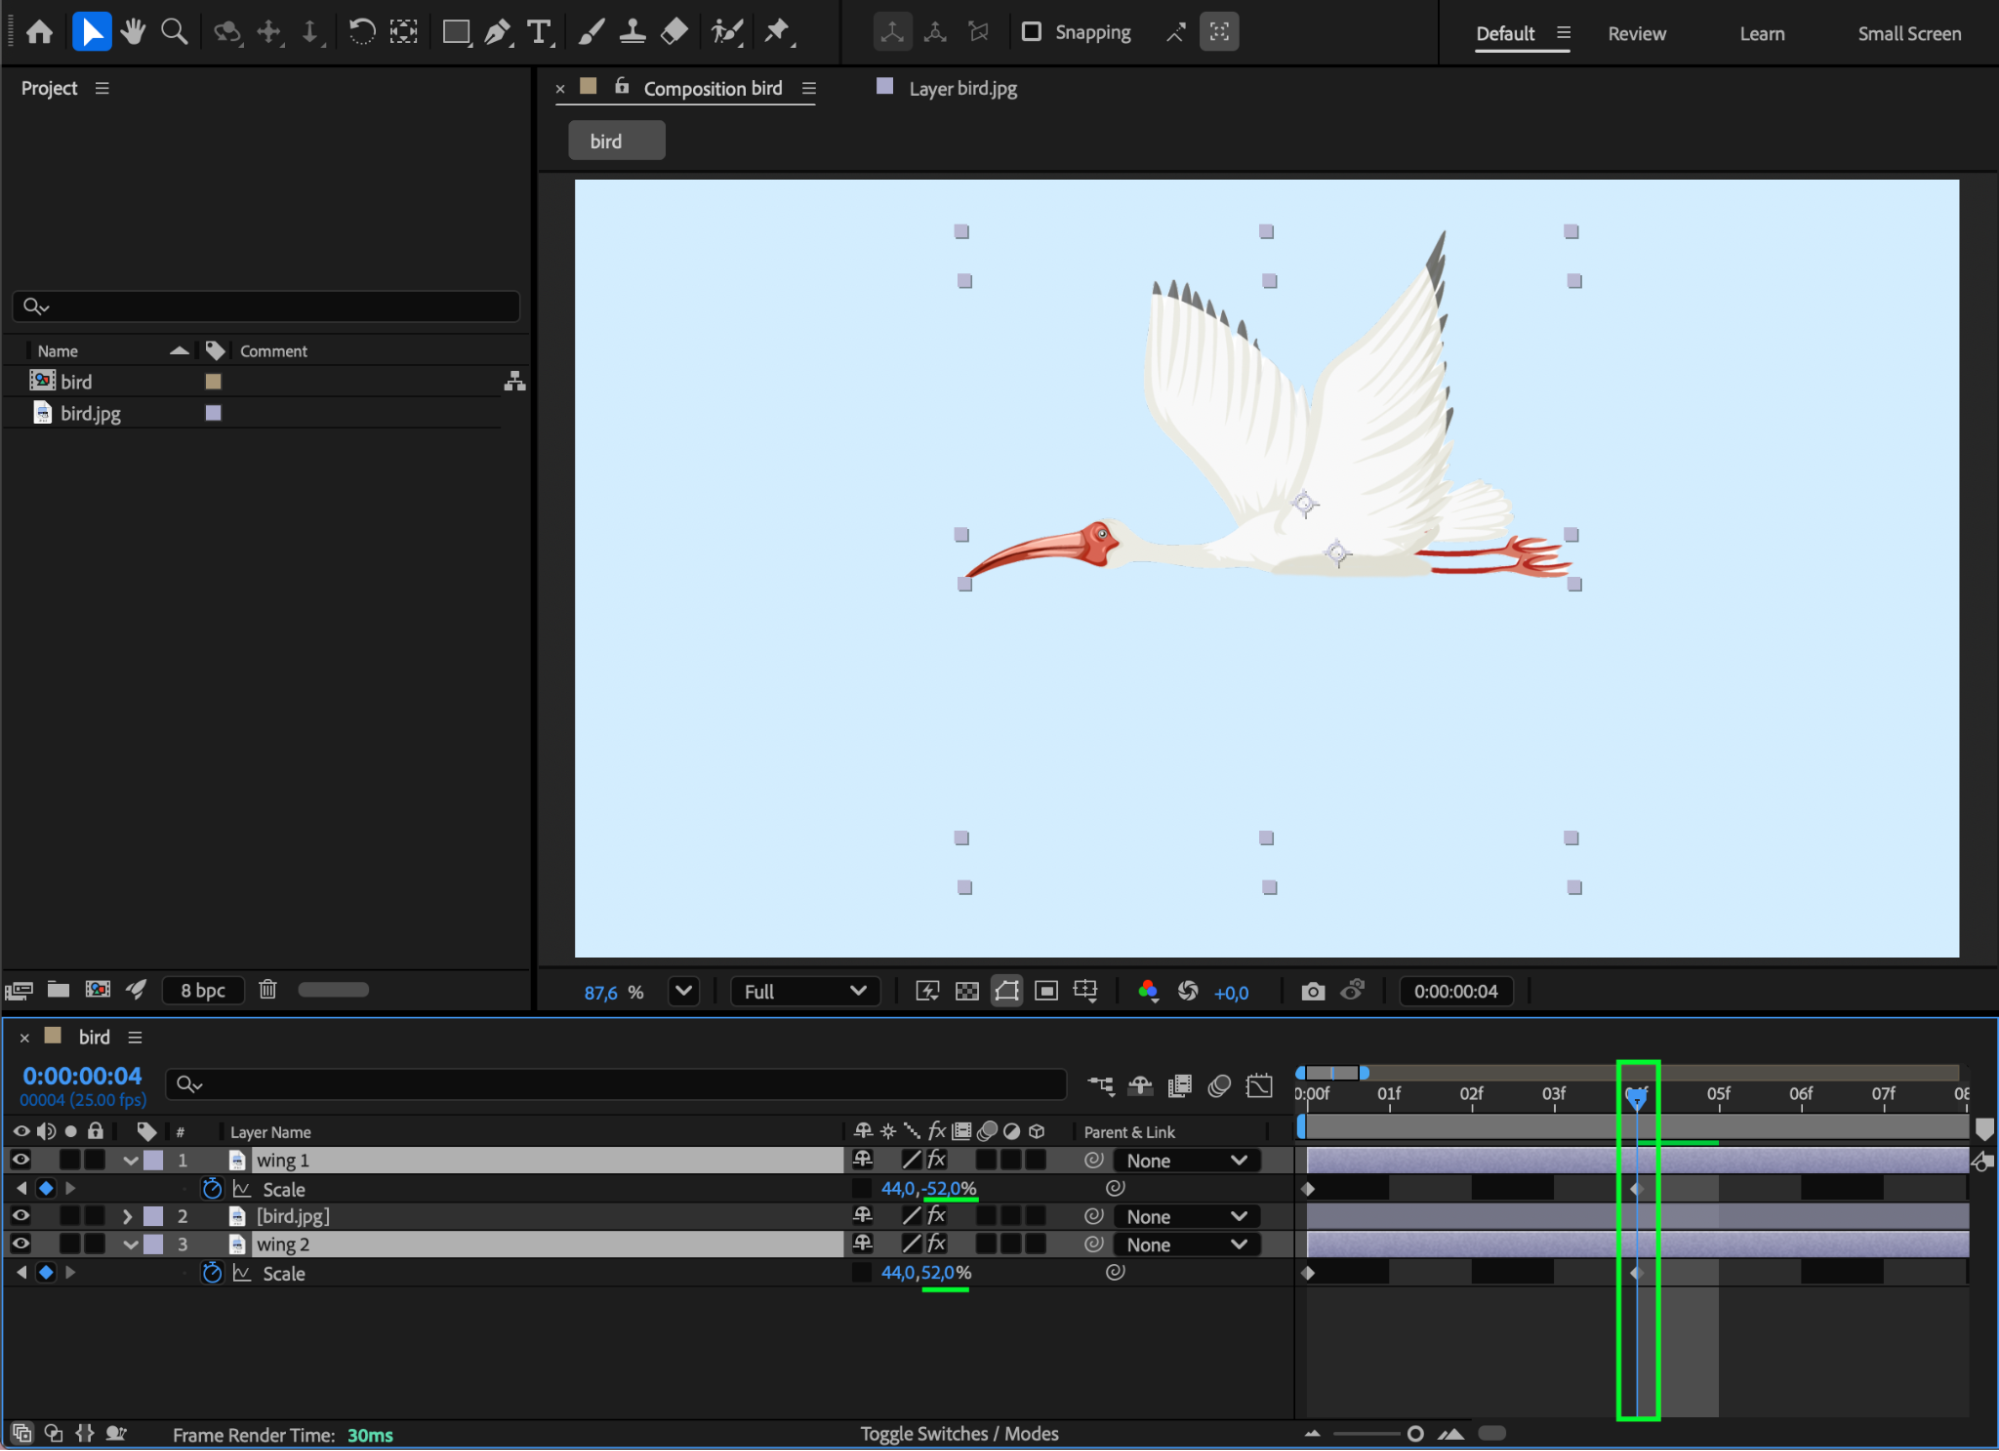
Place the CTI at the beginning of the composition and enable the Scale stopwatch for both wing layers.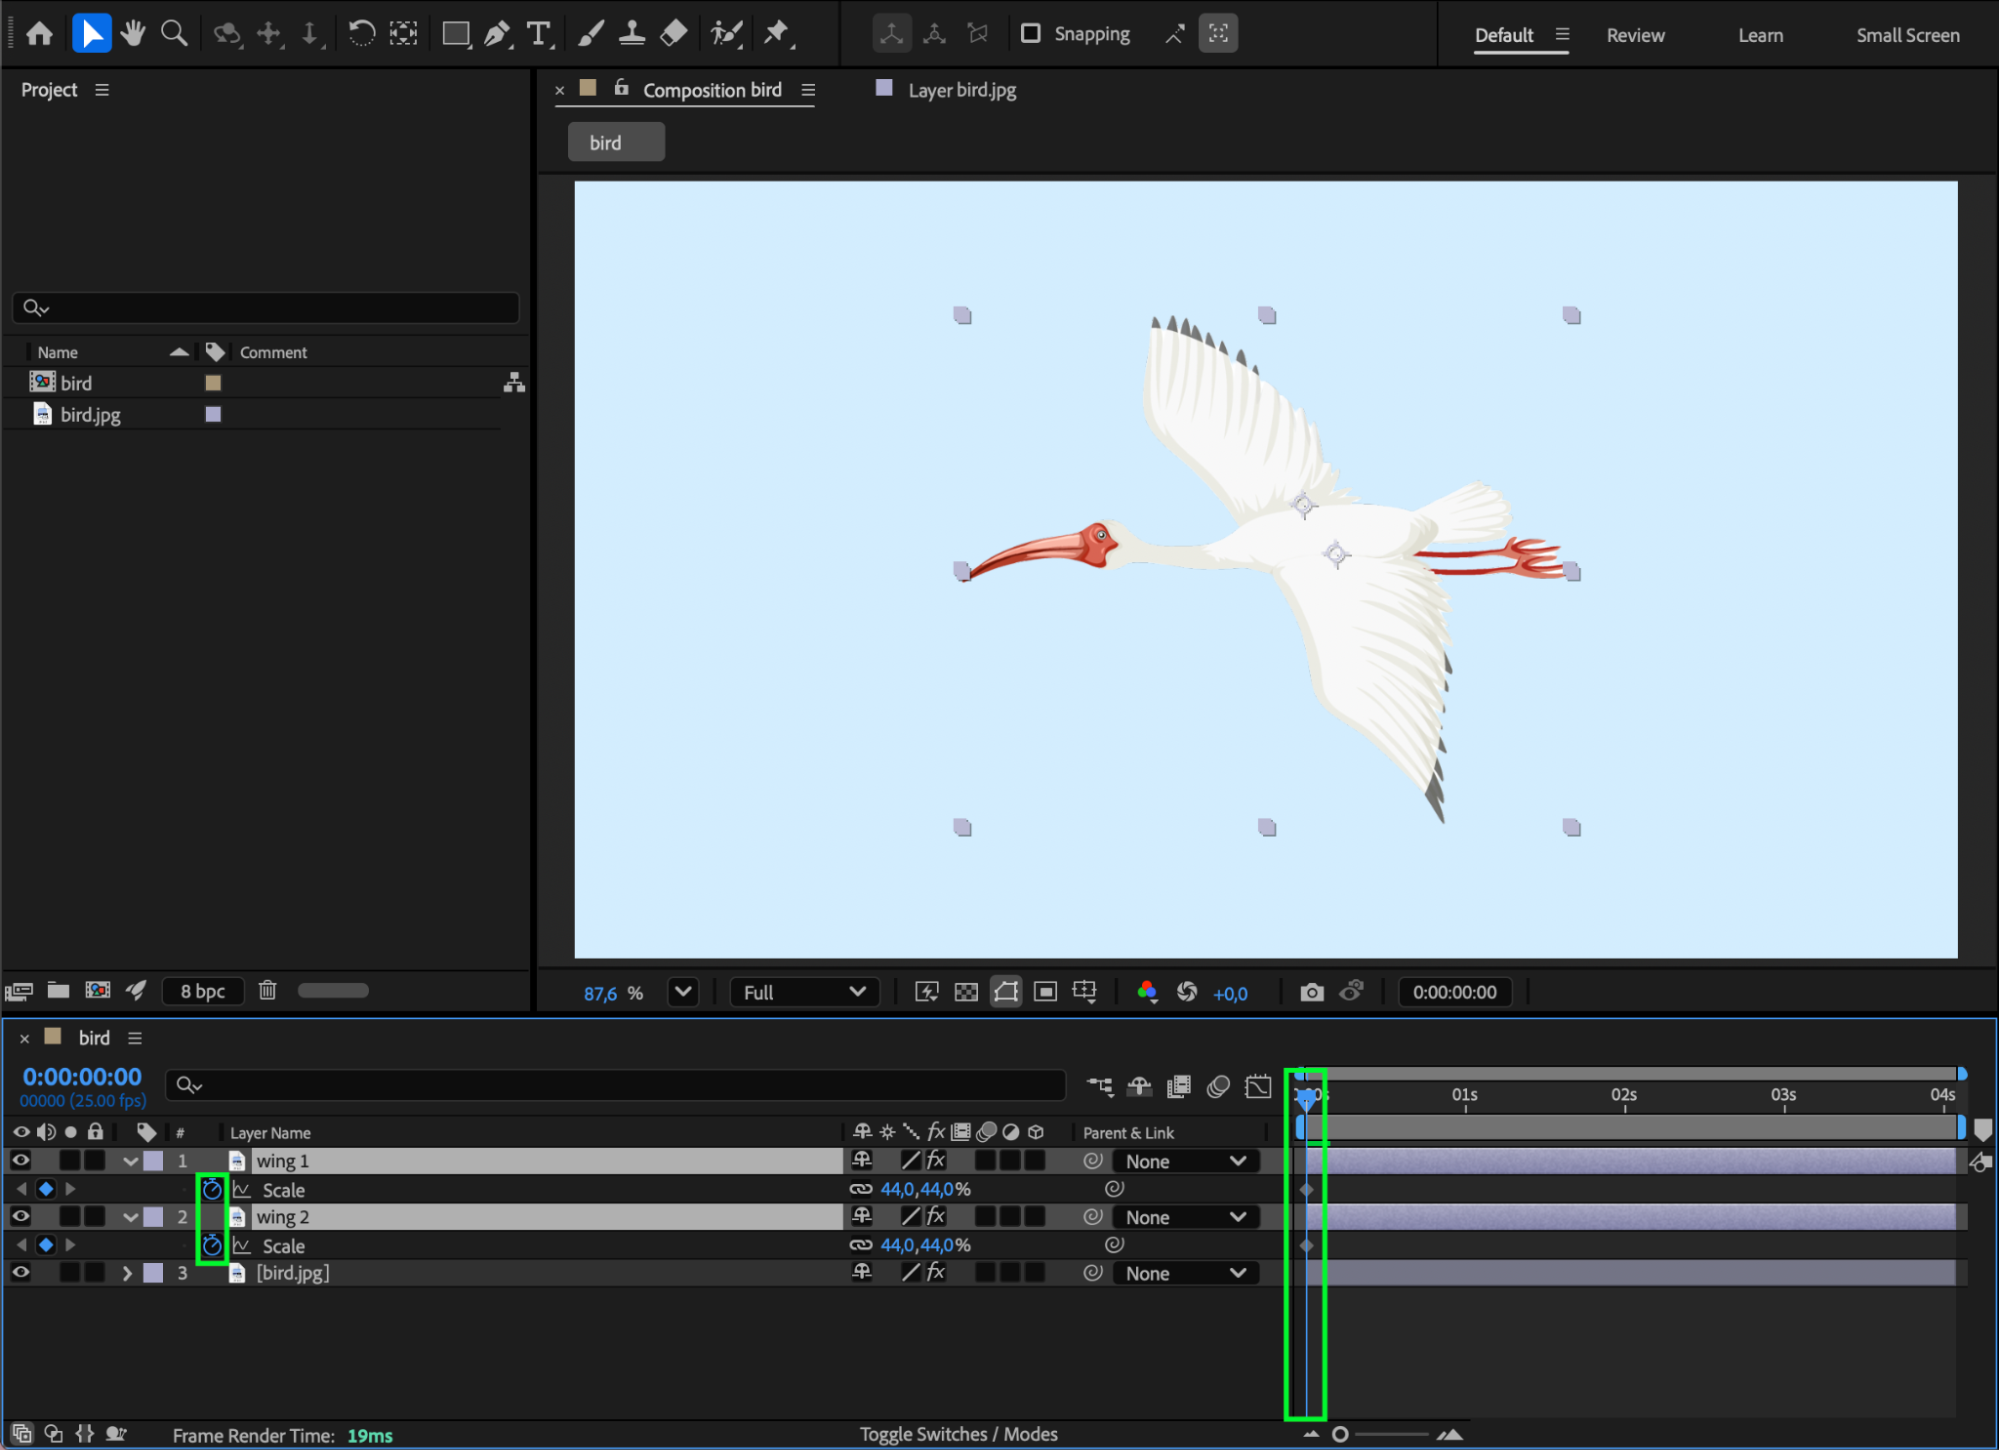 Step 4: Animate the First Wing Position
Move the CTI 4 frames forward. Unlink the Scale values and change the Y value of the wings to the same magnitude but with opposite signs, for example:
Wing 1: Scale 44, -52
Wing 2: Scale 44, 52