Creating a Glowing Logo Animation in After Effects
Add Shine and Glow to Your Logo for a Professional Look
Adding a glowing effect to your logo can make it more eye-catching and modern. In After Effects, you can use a combination of layer styles and built-in glow effects to create this look quickly and effectively. This guide will walk you through the steps to achieve a professional glowing logo animation.
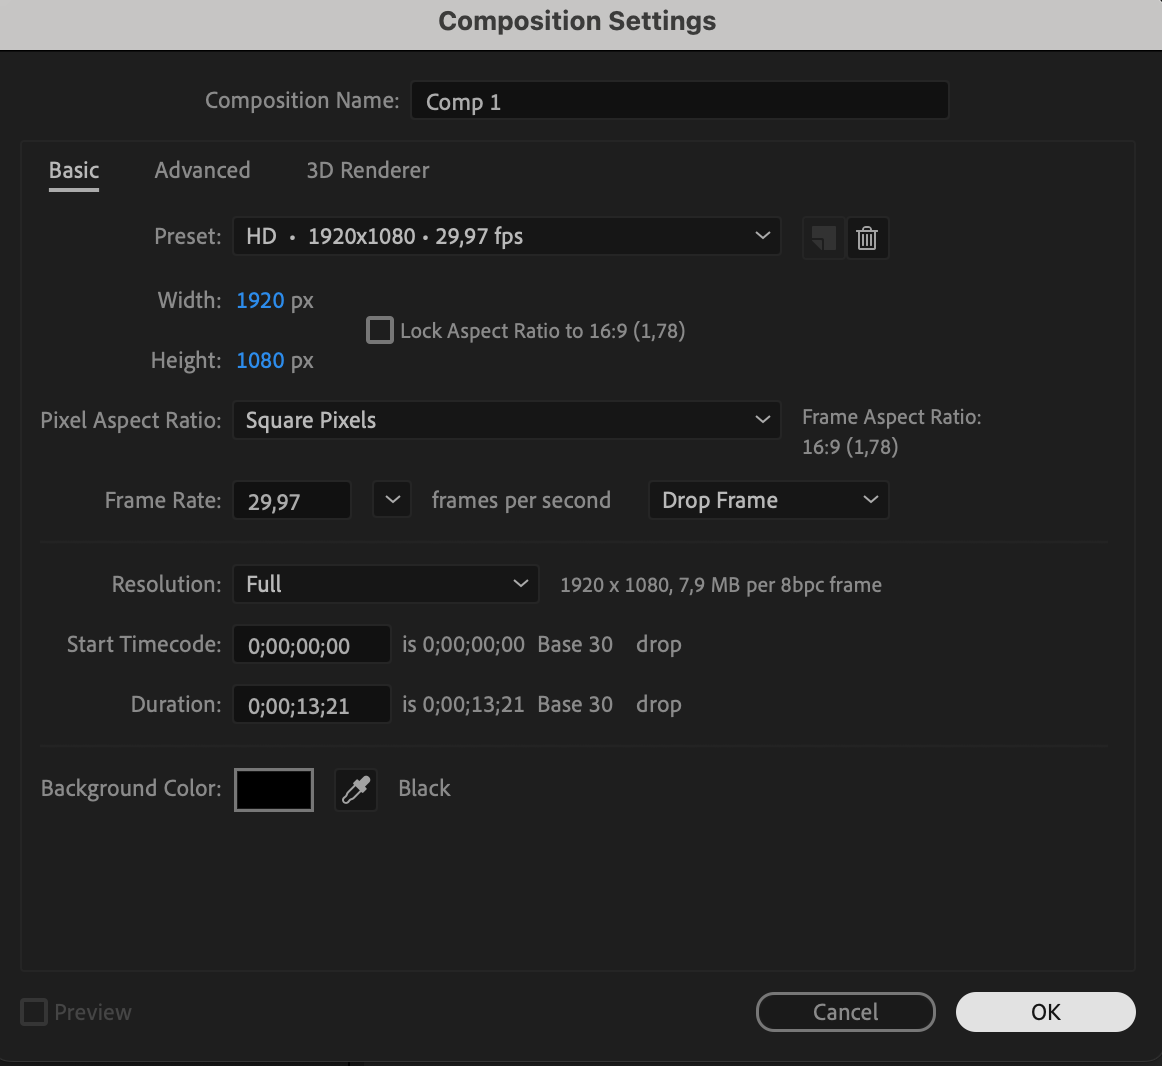
Step 1: Create a New Composition
Open After Effects and go to Composition > New Composition. Choose your desired resolution (e.g., 1920×1080), frame rate (e.g., 30fps), and duration. Name your composition and click OK.
 Step 2: Import Your Logo
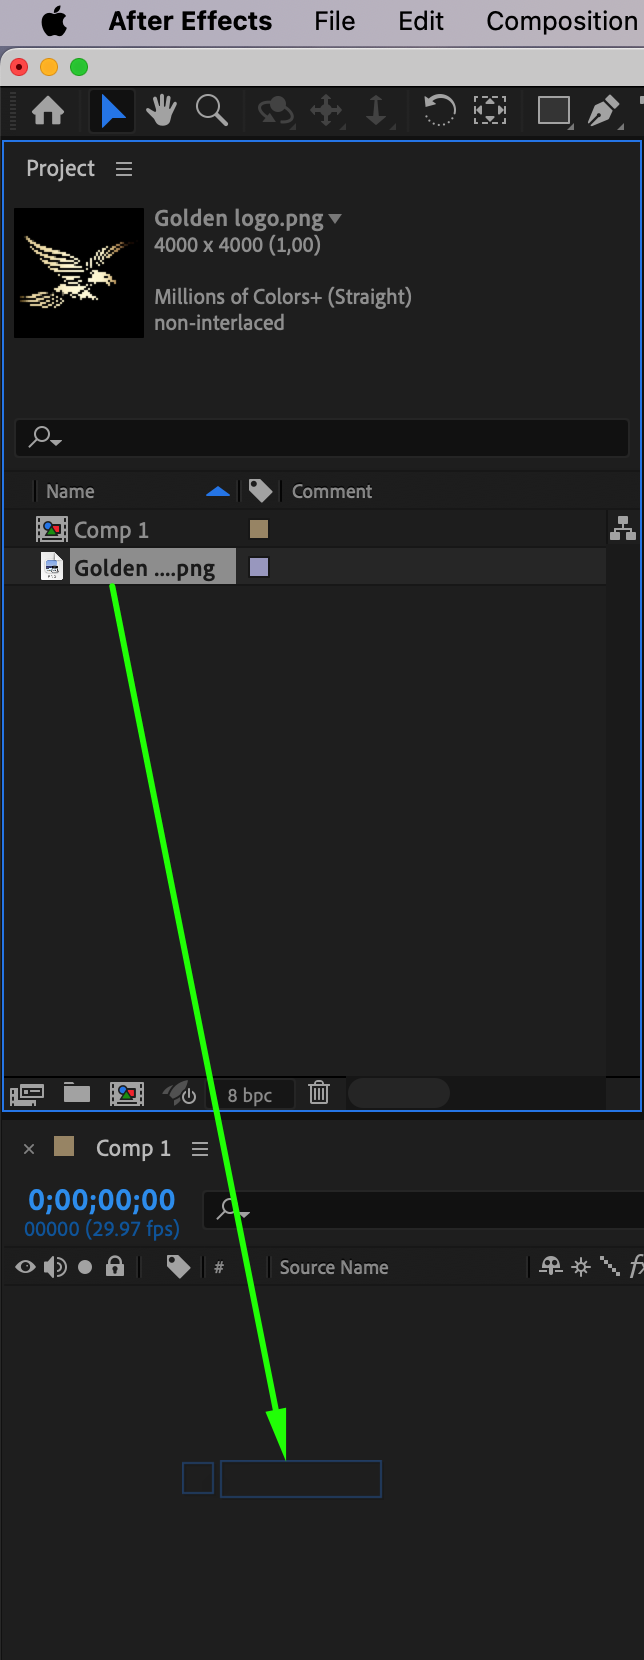
Go to File > Import > File and select your logo file (preferably PNG or vector). Drag the logo into your timeline to add it to the composition.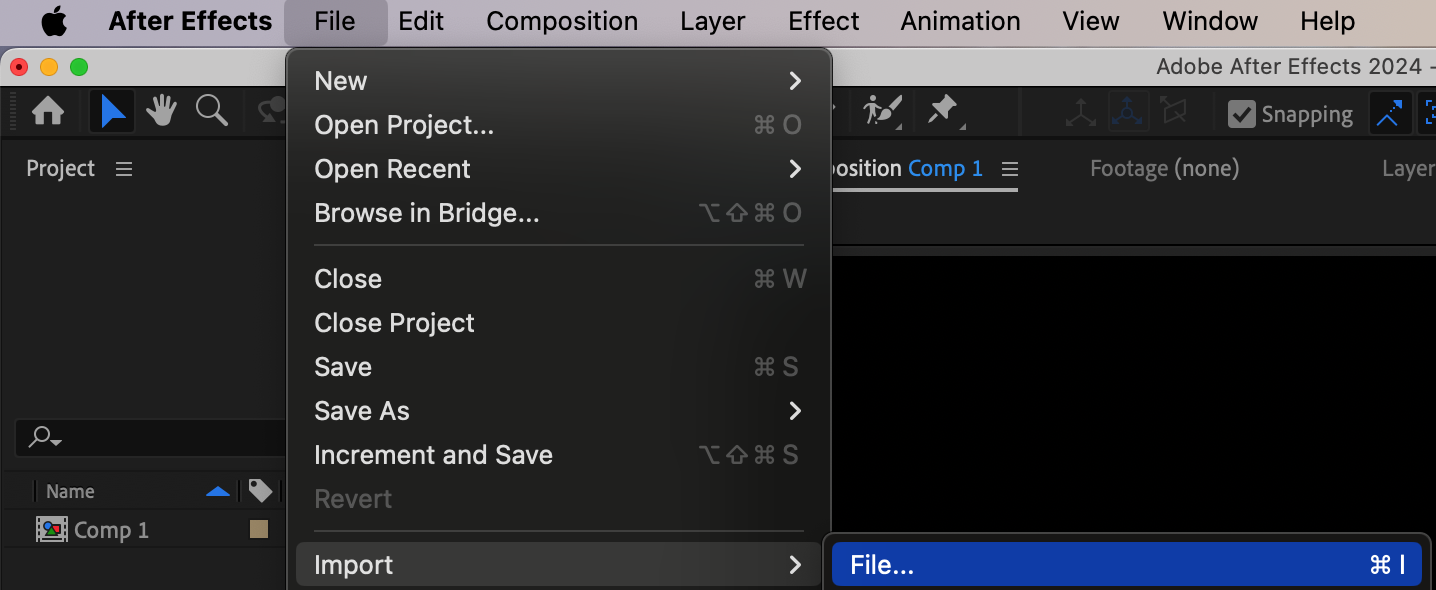
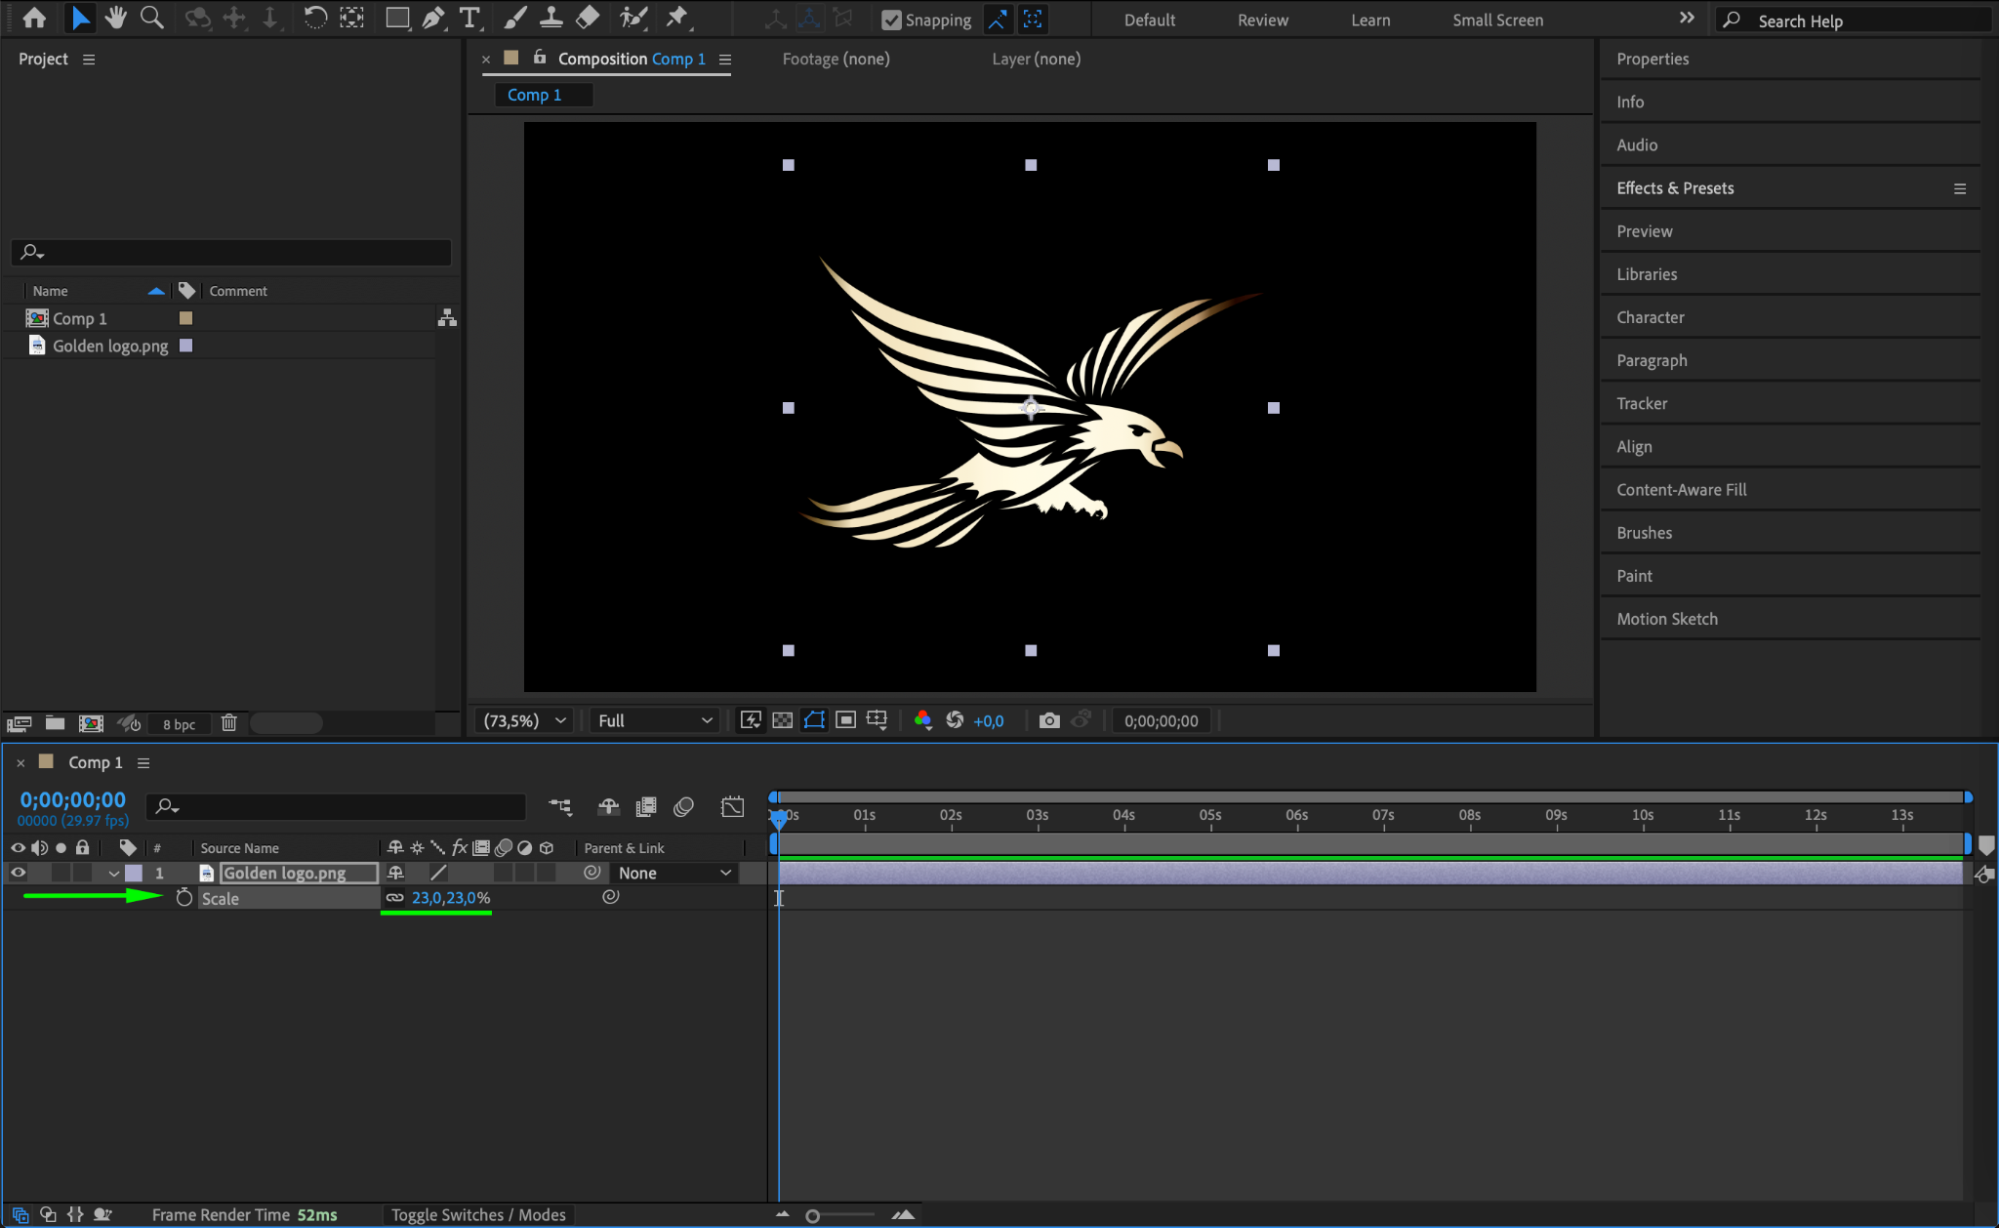
 Step 3: Adjust Logo Scale
Select the logo layer and press “S” to reveal the Scale property. Adjust the size to fit your scene by dragging the percentage or typing in a value manually.